vMix Slow-Motion Replay
Intro
The Proton HFR outputs HD at up to 240fps over 4 SDI cables (SSM 4×: one 3G-SDI per phase, 1080p60 each).
Combined with vMix and a YUAN SDI capture card, you get a compact instant-replay workstation:
- live HD slow-motion (up to 1080p240)
- recording, in/out marking, clip export
- variable-speed playback (down to 25% by default)
- full camera control running side by side with vMix (using the Proton Control software through a PIO or PIO-E)
This is a compact, affordable option for single-cam slow-motion replay — live sports, events, concerts, etc.
We don't sell the hardware kit or vMix license ourselves and we don't provide support
on vMix. For the kit, our reference is Streamverse.tv
(office@streamverse.tv) — see Hardware kit below.
For vMix itself, see the vMix documentation and
support.
Hardware kit
You'll need:
- a Windows 11 host PC with a dedicated GPU and at least one Thunderbolt 4 port
- a Thunderbolt 4 PCIe enclosure (OWC Mercury Helios 3S or Sonnet Echo Express SE I)
- the YUAN SC0710 SDI capture card (HFR-ready, 4× SDI in → 1080p240 to the host)
- a vMix license (see License below)
- 4× SDI cables from the camera to the YUAN card (one per phase)
Streamverse.tv (office@streamverse.tv) puts together
turnkey kits around the YUAN card. They configured our own demo NUC and they are the
right contact for the hardware.
Prices below are indicative (as of early 2026) and can change quickly. Ask Streamverse for an up-to-date quote. The cheapest "transportable" option (mini-PC + external enclosure) is what we use on the road, but for serious replay use a tower or rack-mount build with proper storage and a dedicated GPU.
| Kit | What's included | Indicative price |
|---|---|---|
SSM capture card 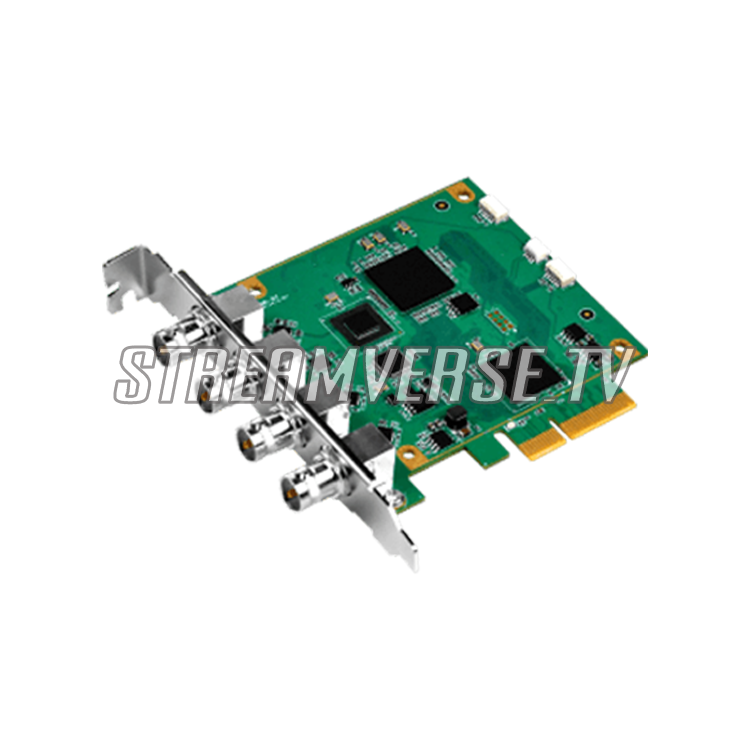 | YUAN SC0710 PCIe capture card | ~ 650 € |
Card + TB4 enclosure 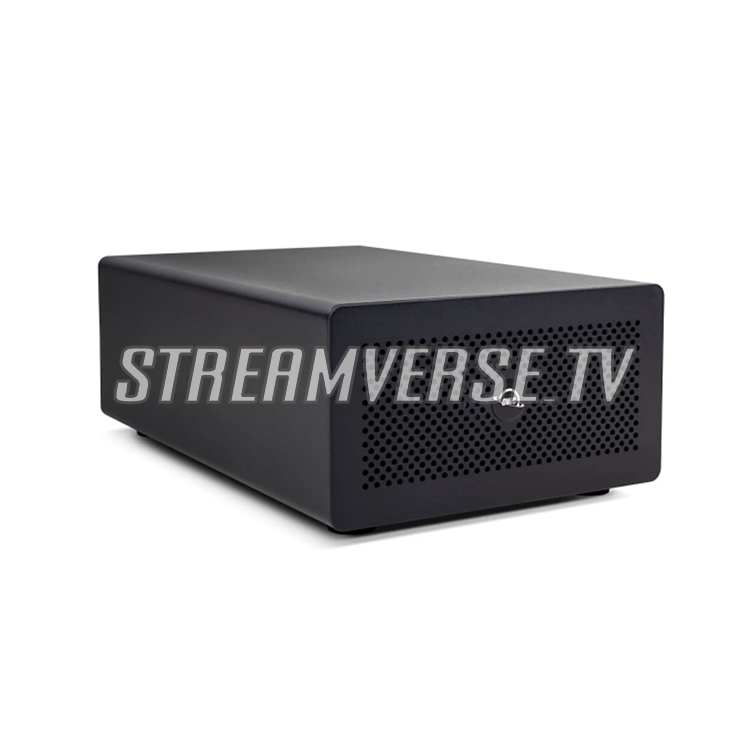 | Capture card + external Thunderbolt 4 enclosure | ~ 850 € |
1-channel laptop replay 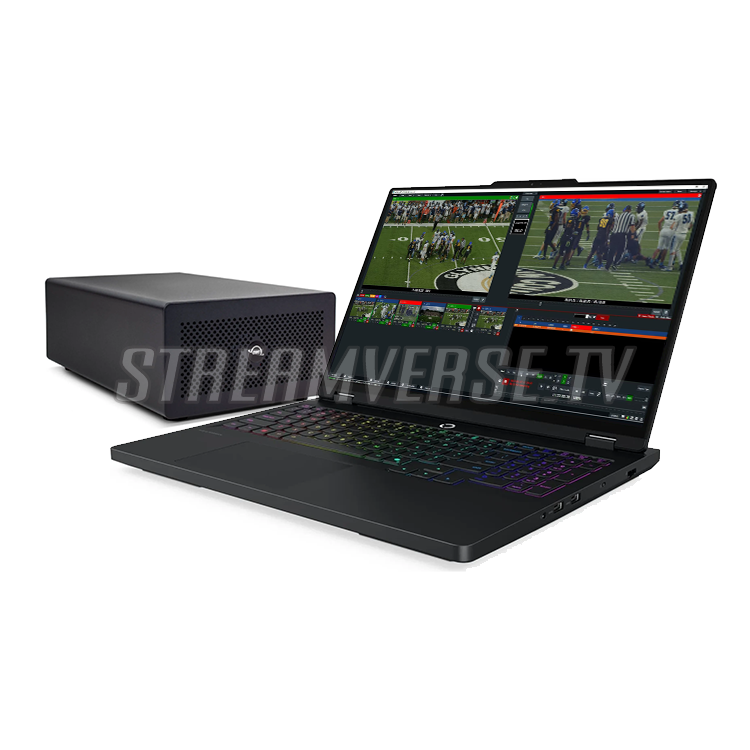 | Laptop + card + TB4 enclosure + vMix 4K license + 4 TB M.2 SSD + Contour Shuttle Xpress controller | ~ 4 000 € |
1-channel SFF replay 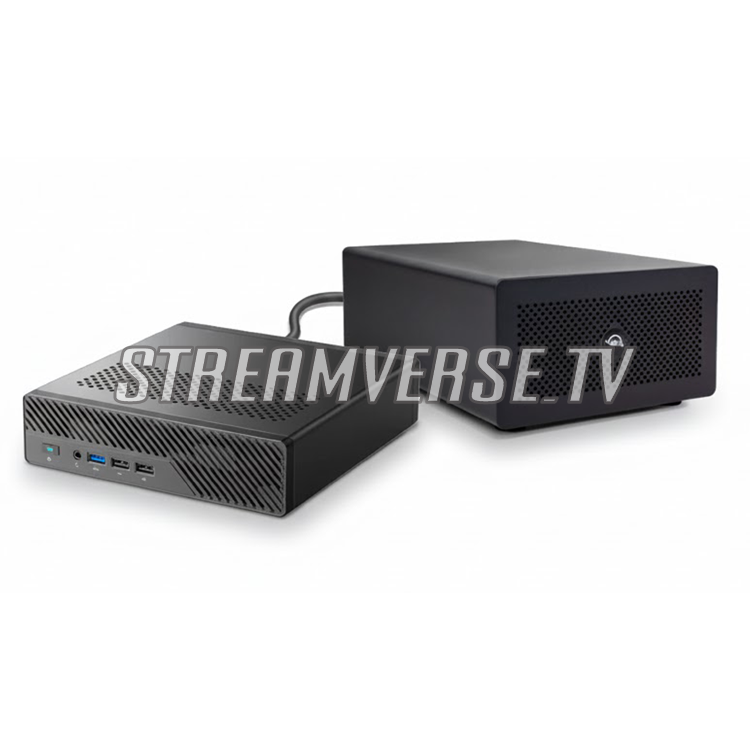 | SFF PC + card + TB4 enclosure + vMix 4K license + 4 TB M.2 SSD + Contour Shuttle Xpress controller | ~ 3 500 € |
2-channel rack/tower replay 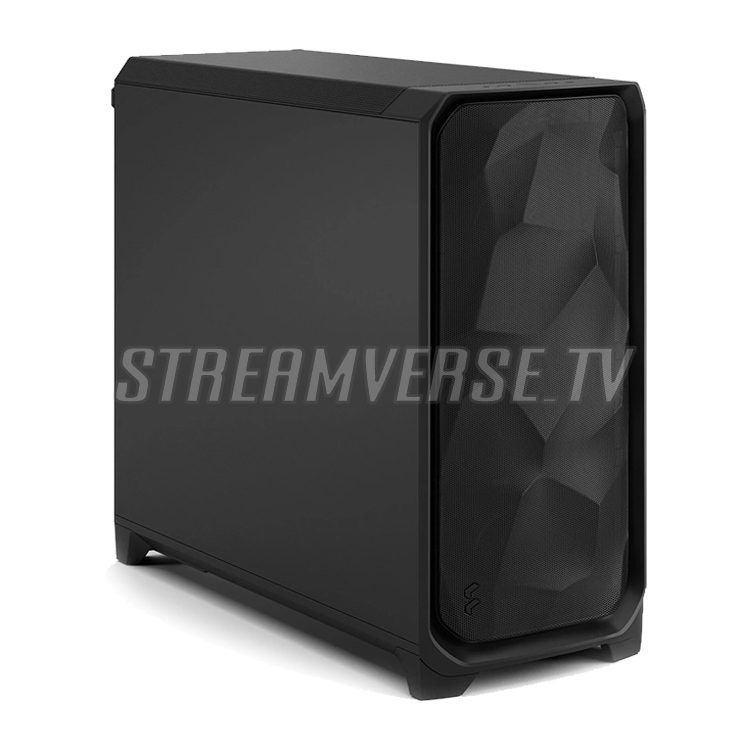 | 4U server or desktop tower + 2× capture cards + vMix PRO license + 8 TB M.2 SSD + 4-channel replay controller | ~ 8 000 € |
4-channel rack/tower replay 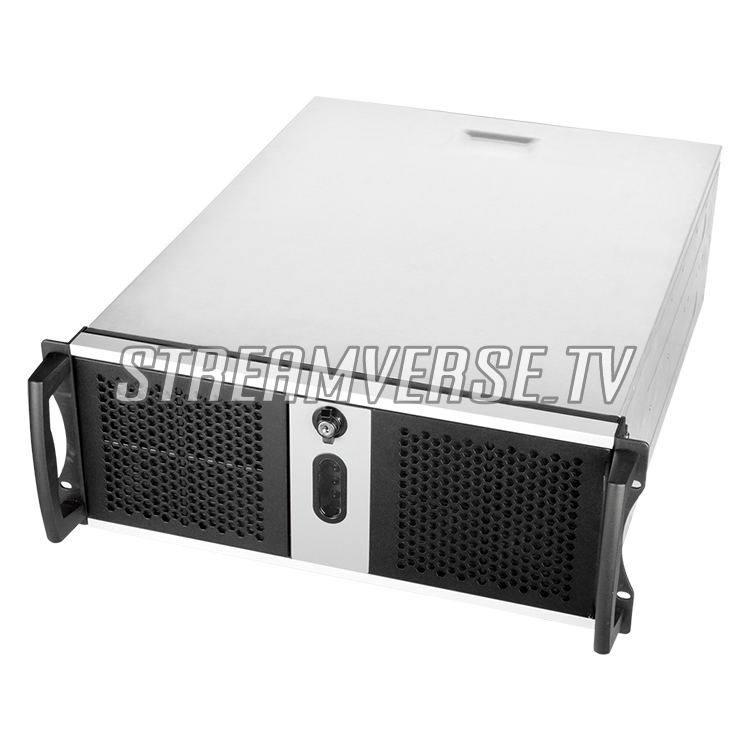 | 4U server or desktop tower + 4× capture cards + vMix PRO license + 16 TB M.2 SSD + 4-channel replay controller | ~ 14 000 € |
For our own demos we use a small Intel NUC + external Thunderbolt enclosure. That works fine for one camera + replay + nothing else, and it's easy to carry around — but it has no dedicated GPU and very little storage, so it's not a great fit for production work. For a real deployment, take one of the SFF/tower/rack kits above.
Wiring
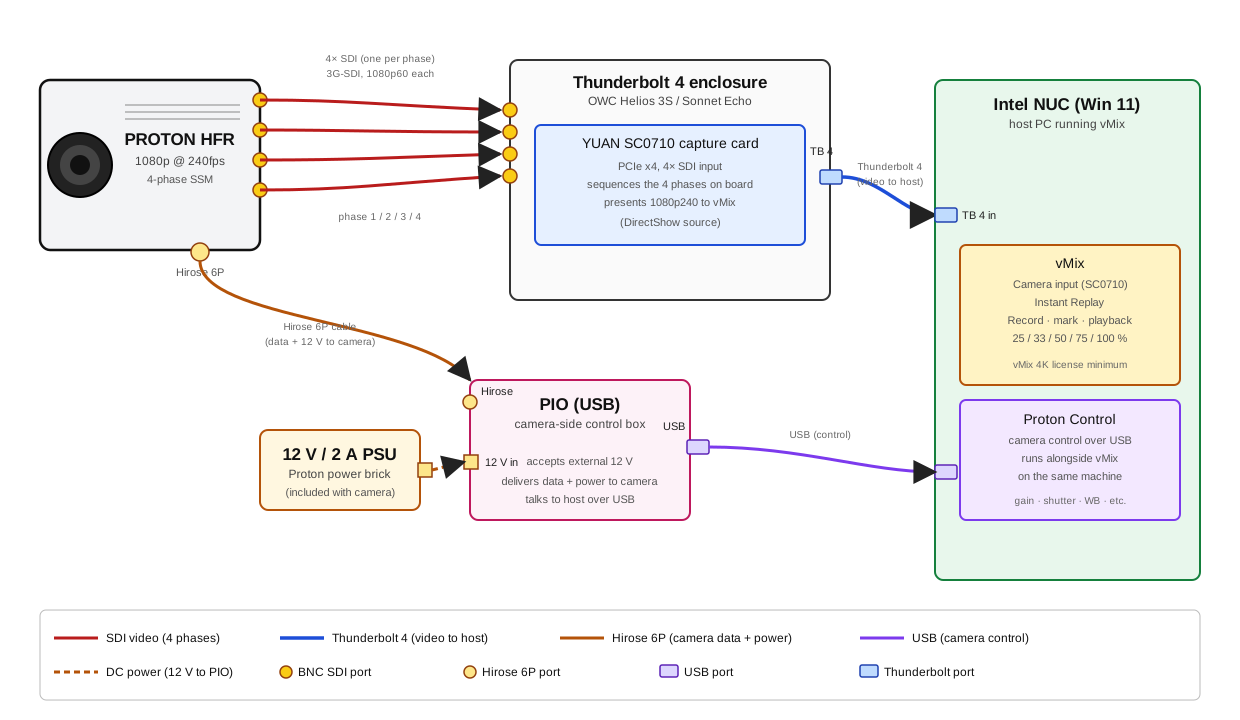
- Video — the camera streams its 4 phases over 4 separate SDI cables into the YUAN SC0710 inside the Thunderbolt enclosure. The card sequences the 4 phases internally and presents a clean 1080p240 source to vMix over Thunderbolt 4.
- Camera power — provided by the PIO over the Hirose 6P cable. In the schema above, the PIO is fed by the official Proton 12 V / 2 A brick.
- Camera control — runs in parallel on the same host, using
Proton Control:
- PIO (USB) — simplest, single cable to the host, fine for one camera. This is the setup shown in the schema above.
- PIO-E (Ethernet) — recommended when you already have a PoE/Ethernet run to the camera. The PIO-E doesn't carry enough power to drive the camera over PoE alone — use a Y cable that combines the PIO-E feed with an external 12 V supply.
vMix setup
Step 1 — Open vMix
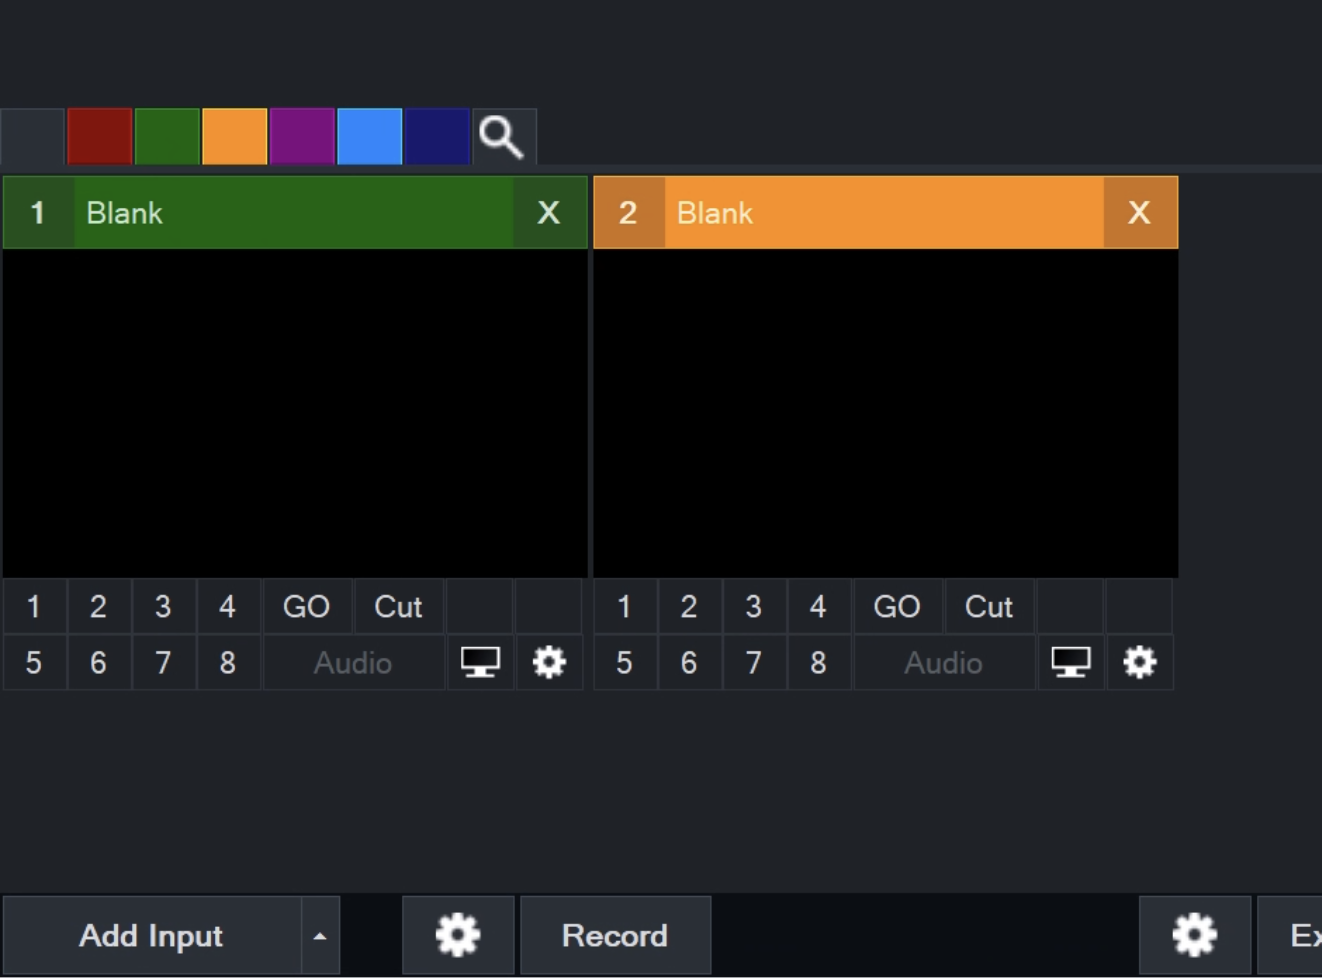
You start with an empty preset. We'll add two inputs: the camera (live SDI) and the Instant Replay (recording + variable-speed playback).
Step 2 — Add the camera input
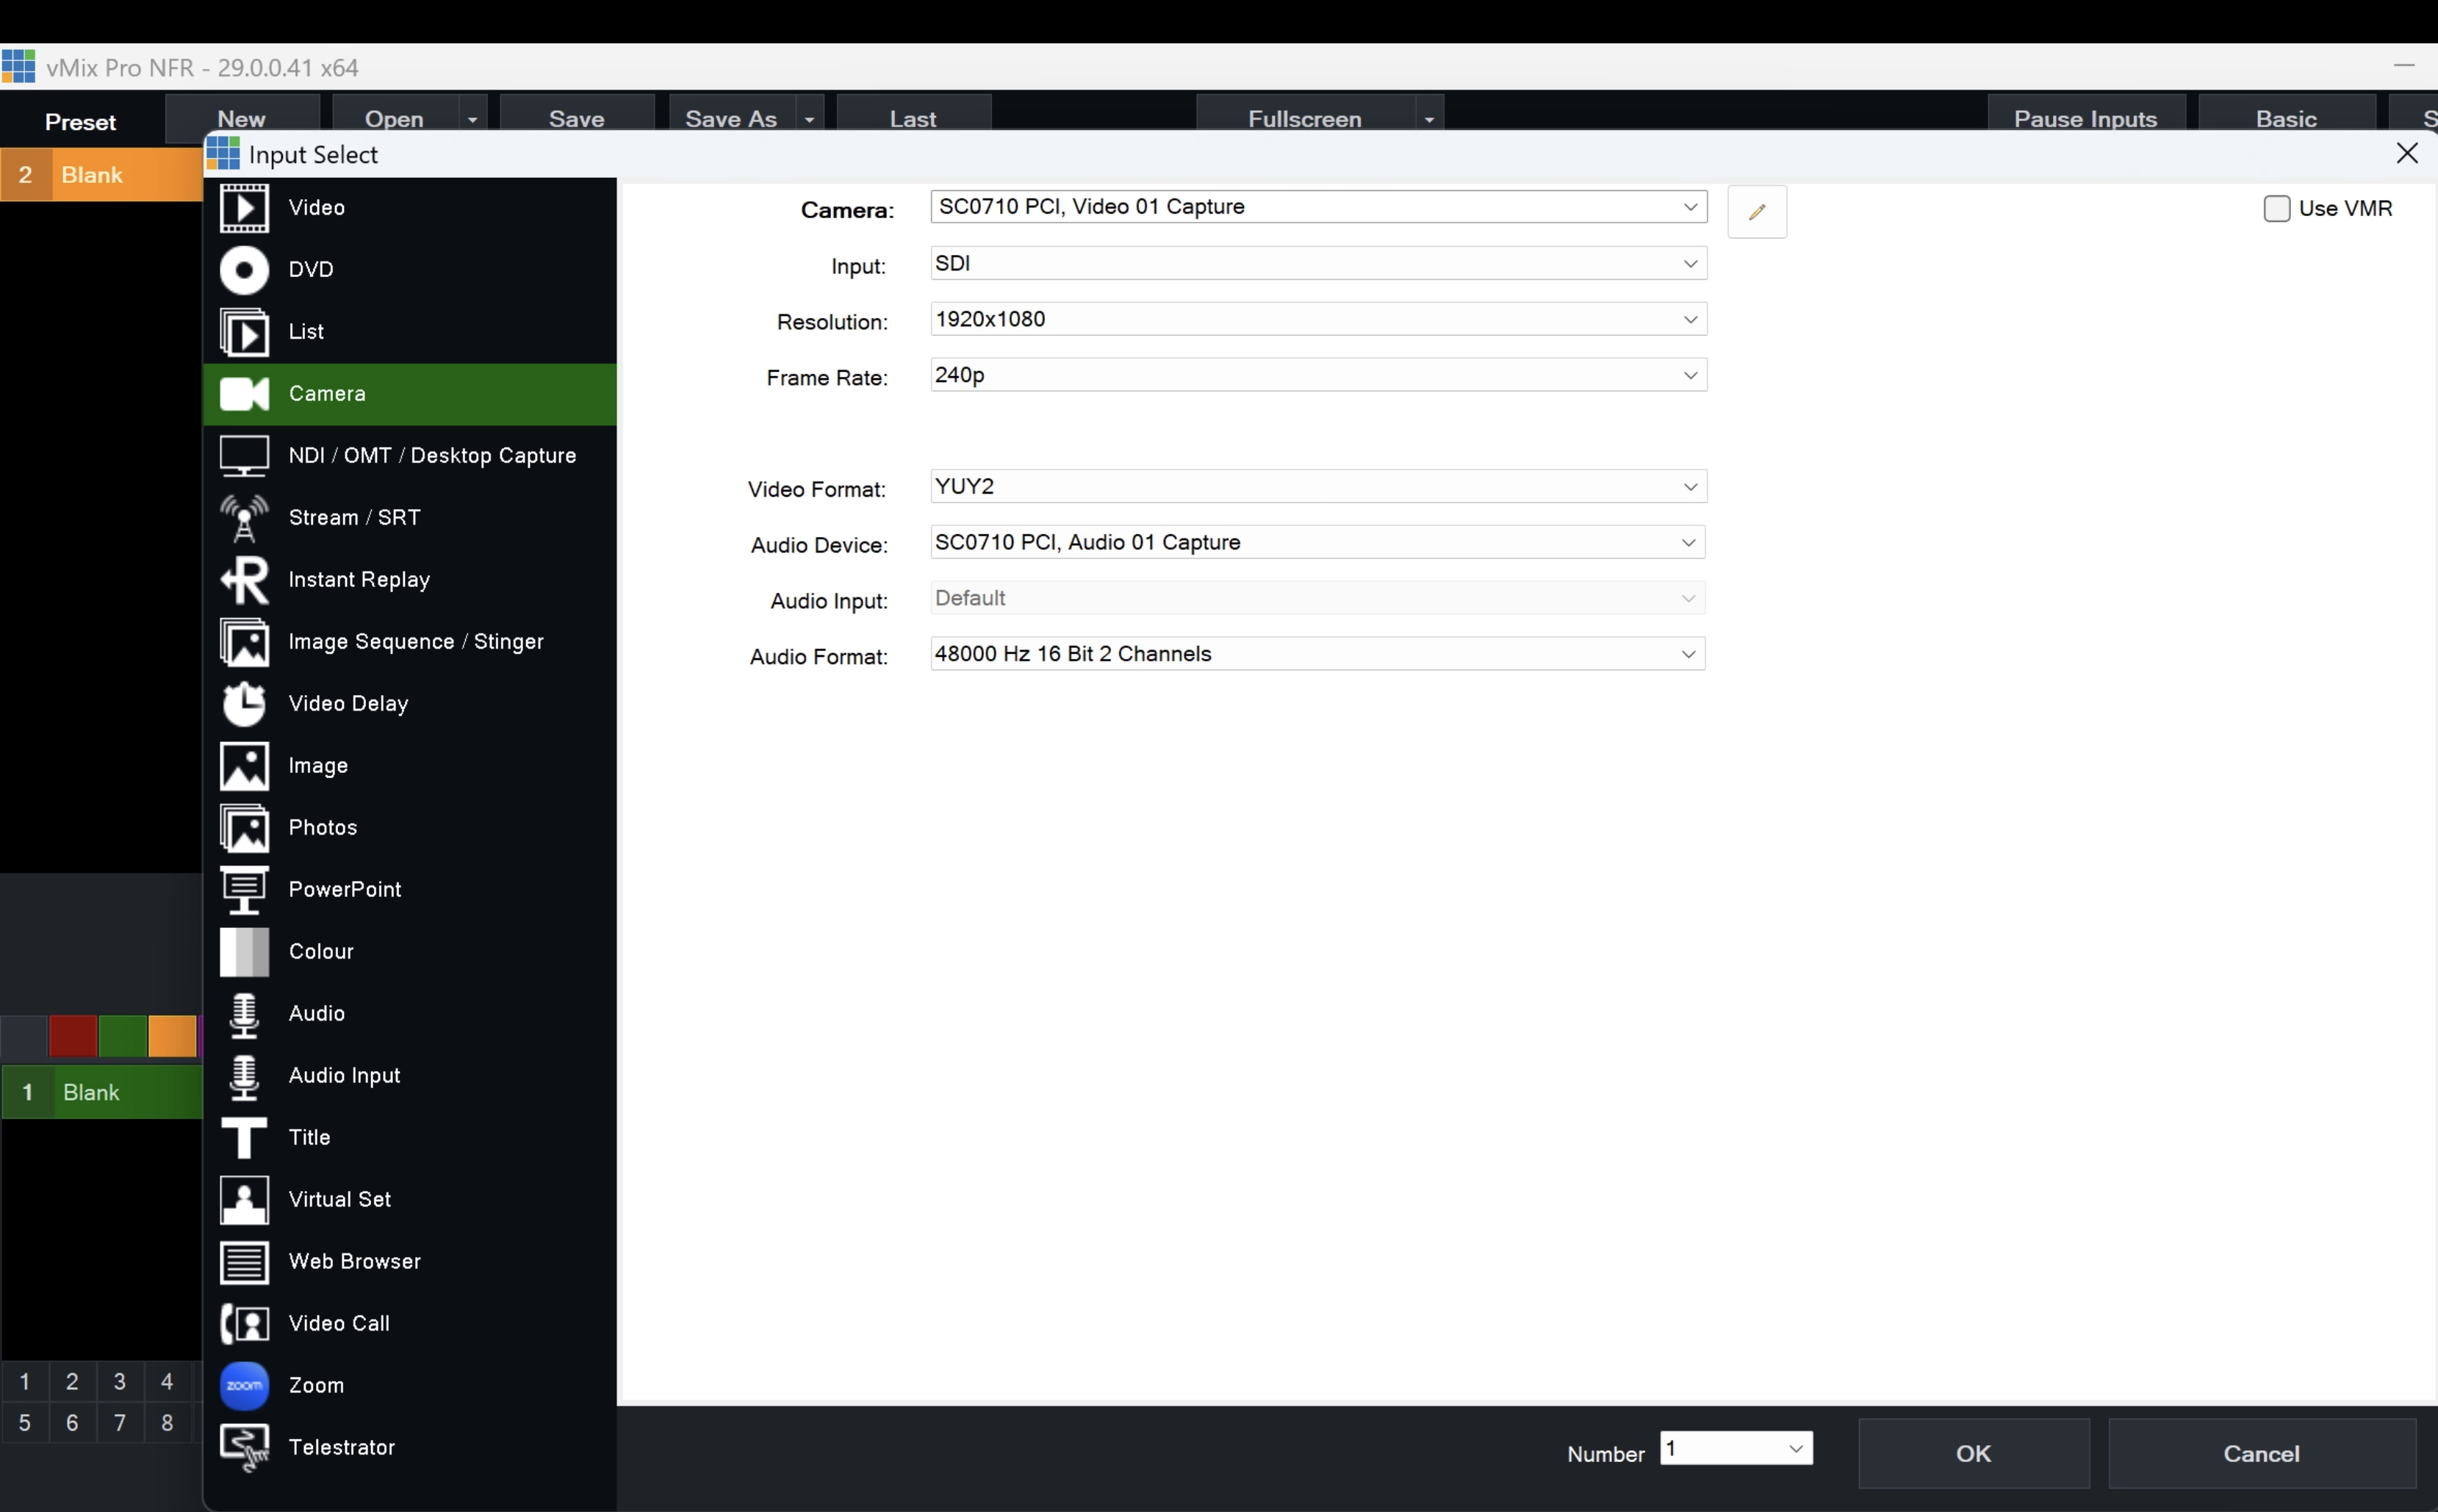
Click Add Input → Camera, and configure:
Camera: SC0710 PCI, Video 01 Capture (the YUAN card)Input: SDIResolution: 1920 × 1080Frame Rate: 240pAudio Device: SC0710 PCI, Audio 01 Capture (if you want embedded audio)
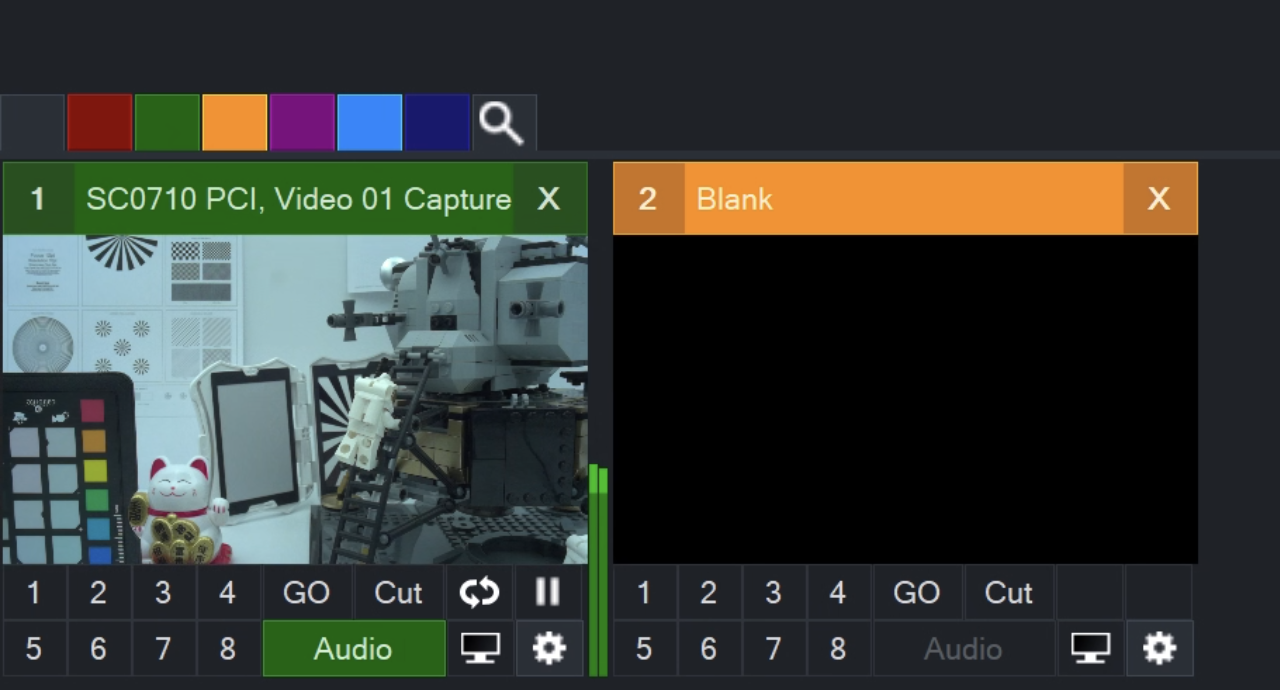
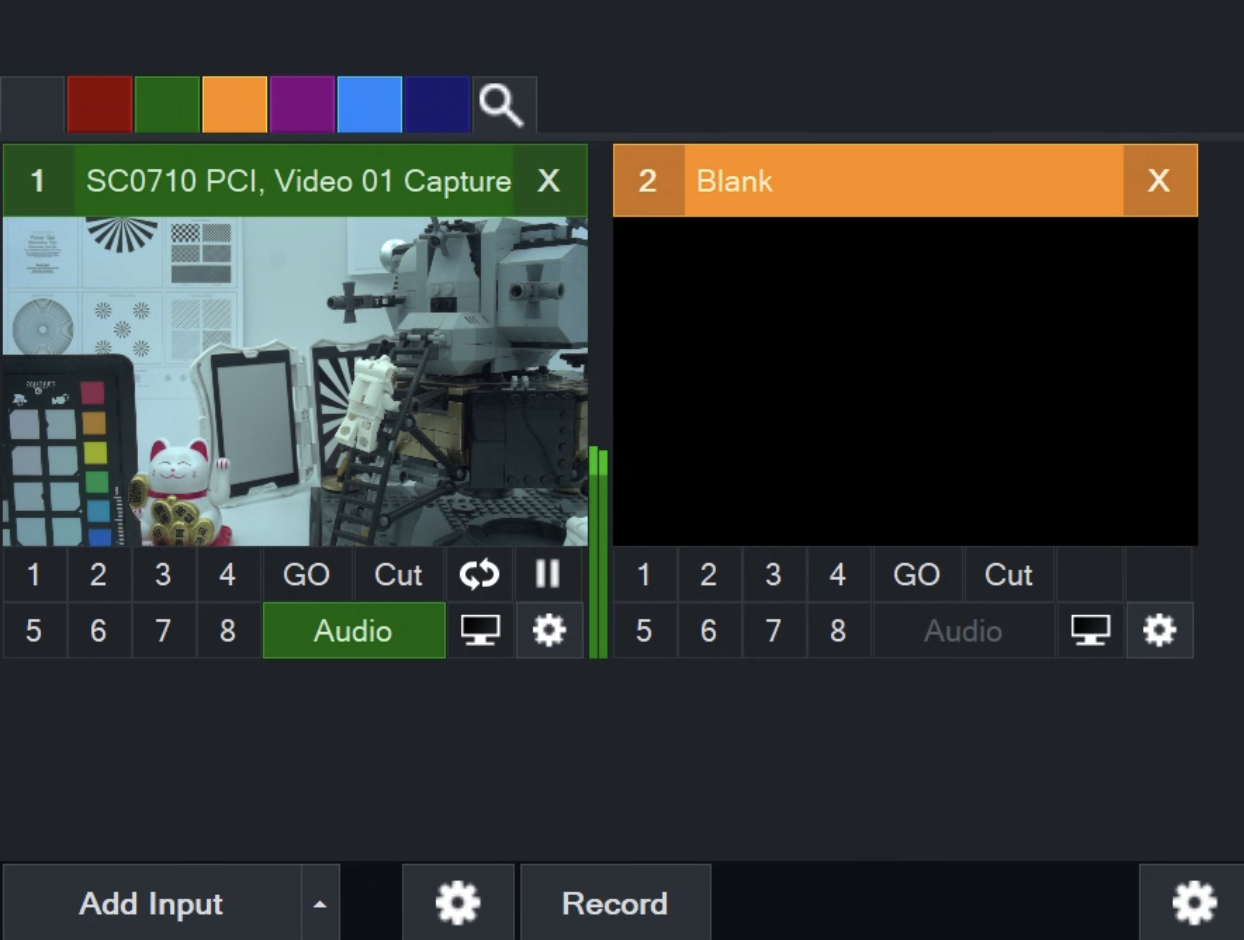
Once added, you should see the live camera in input 1:
Step 3 — Configure the YUAN driver
This is the important step — the default driver settings won't give you HFR.
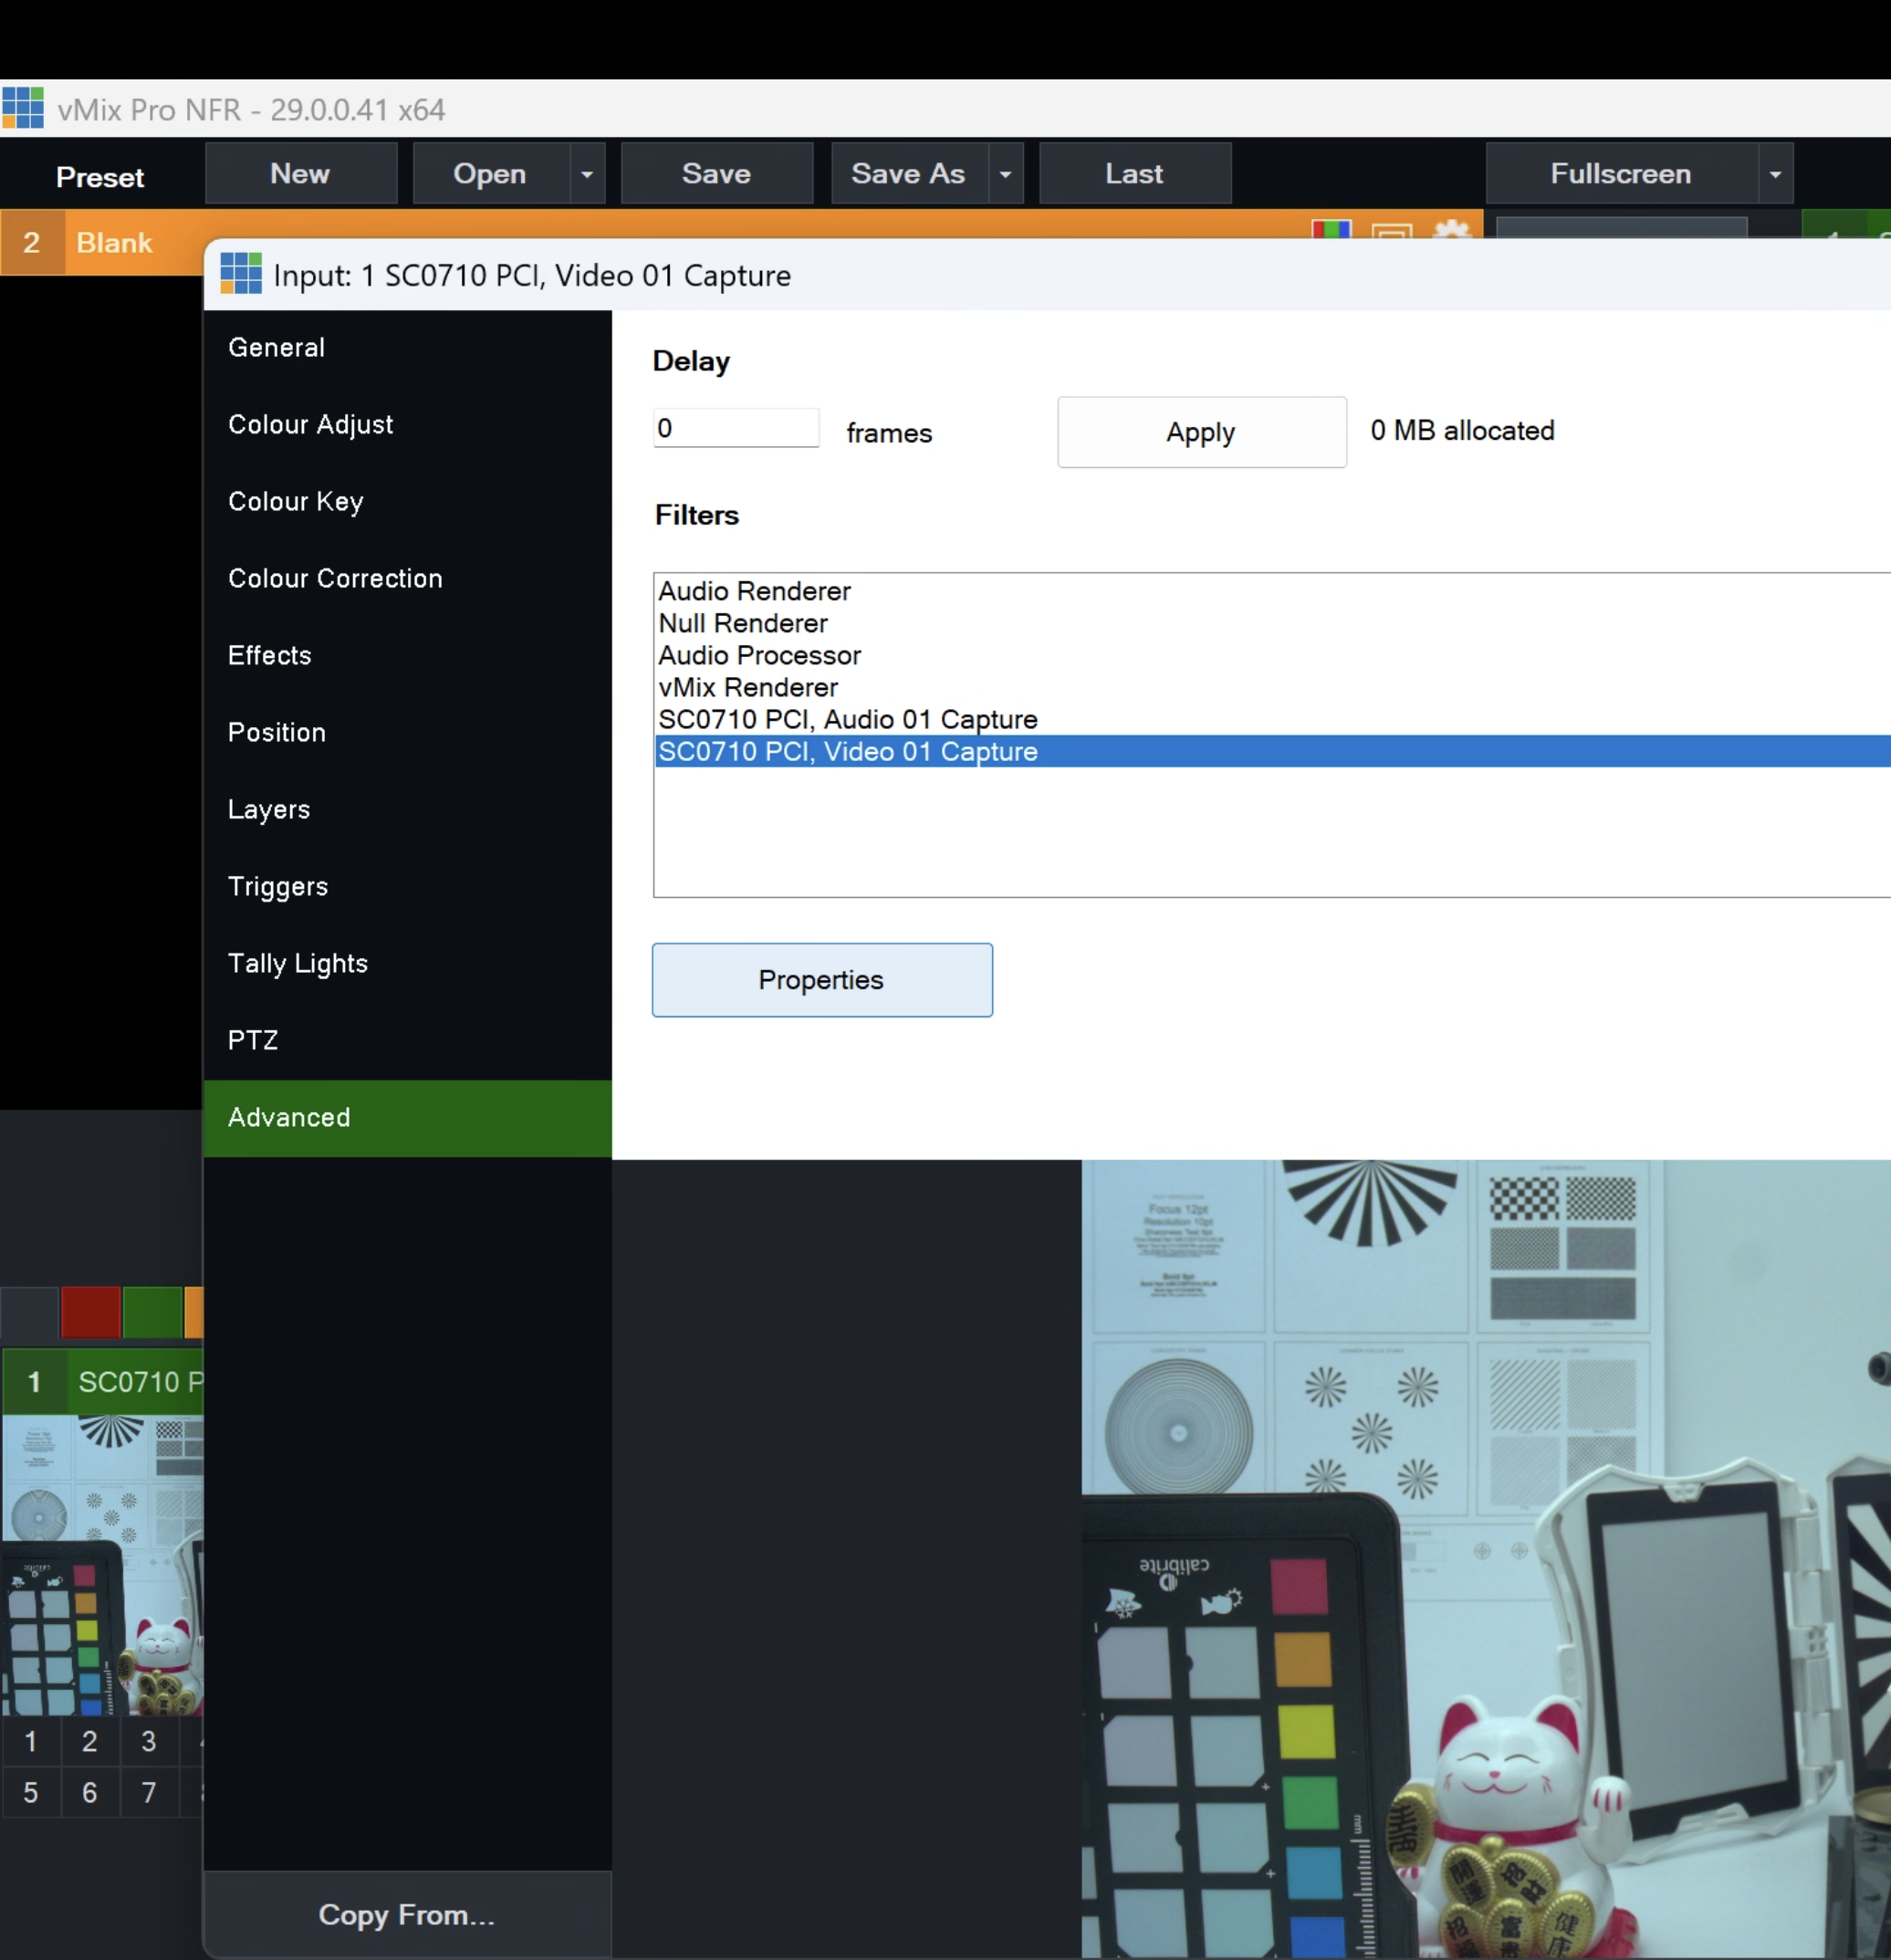
On the camera input, click the gear icon → Advanced → select SC0710 PCI, Video 01 Capture → Properties:
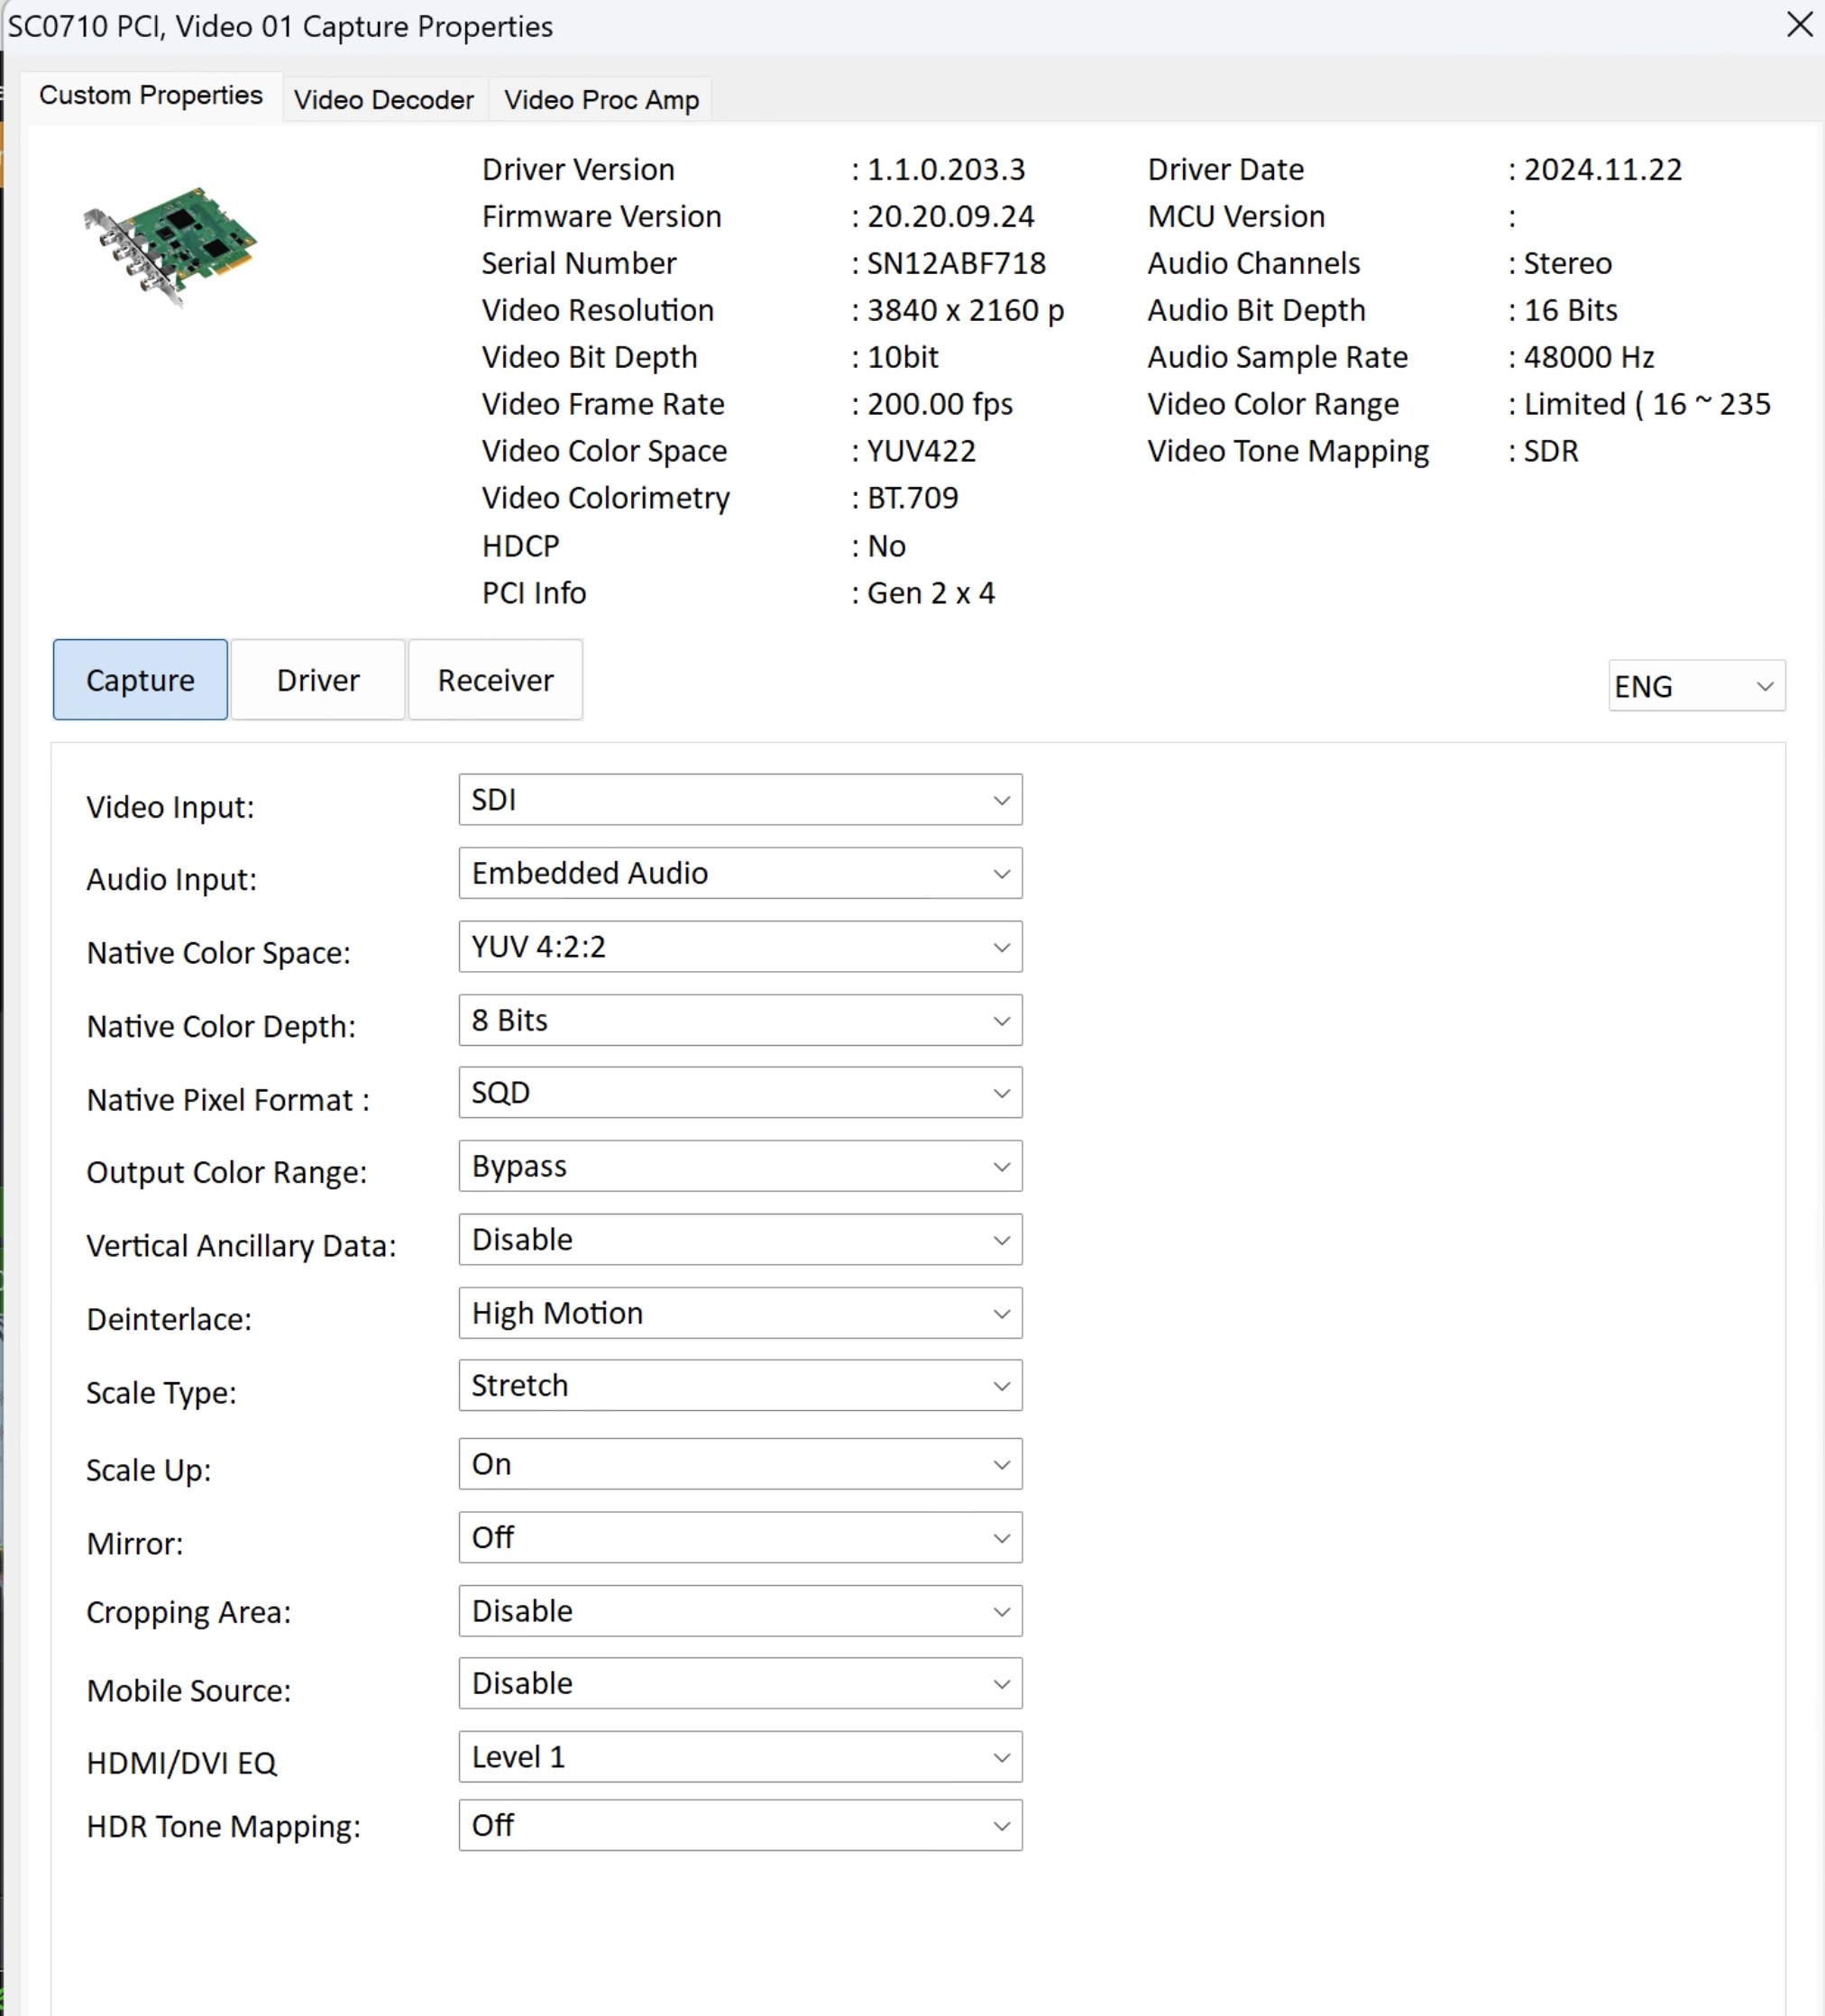
You then get the YUAN driver UI. Two tabs matter:
Capture — set:
| Field | Value |
|---|---|
| Video Input | SDI |
| Audio Input | Embedded Audio |
| Native Color Space | YUV 4:2:2 |
| Native Color Depth | 8 Bits |
| Native Pixel Format | SQD |
| Output Color Range | Bypass |
| Deinterlace | High Motion |
| Scale Type | Stretch |
| Scale Up | On |
Driver — set:
| Field | Value |
|---|---|
| Frame Rate Adjustment | Enable |
| Frame Rate Fixed Output | Bypass |
| Single Resolution Output | Disable |
| Customized Resolution Output | Disable |
| Support Multiple Channels | Disable |
| High Refresh Rate | auto-detected |
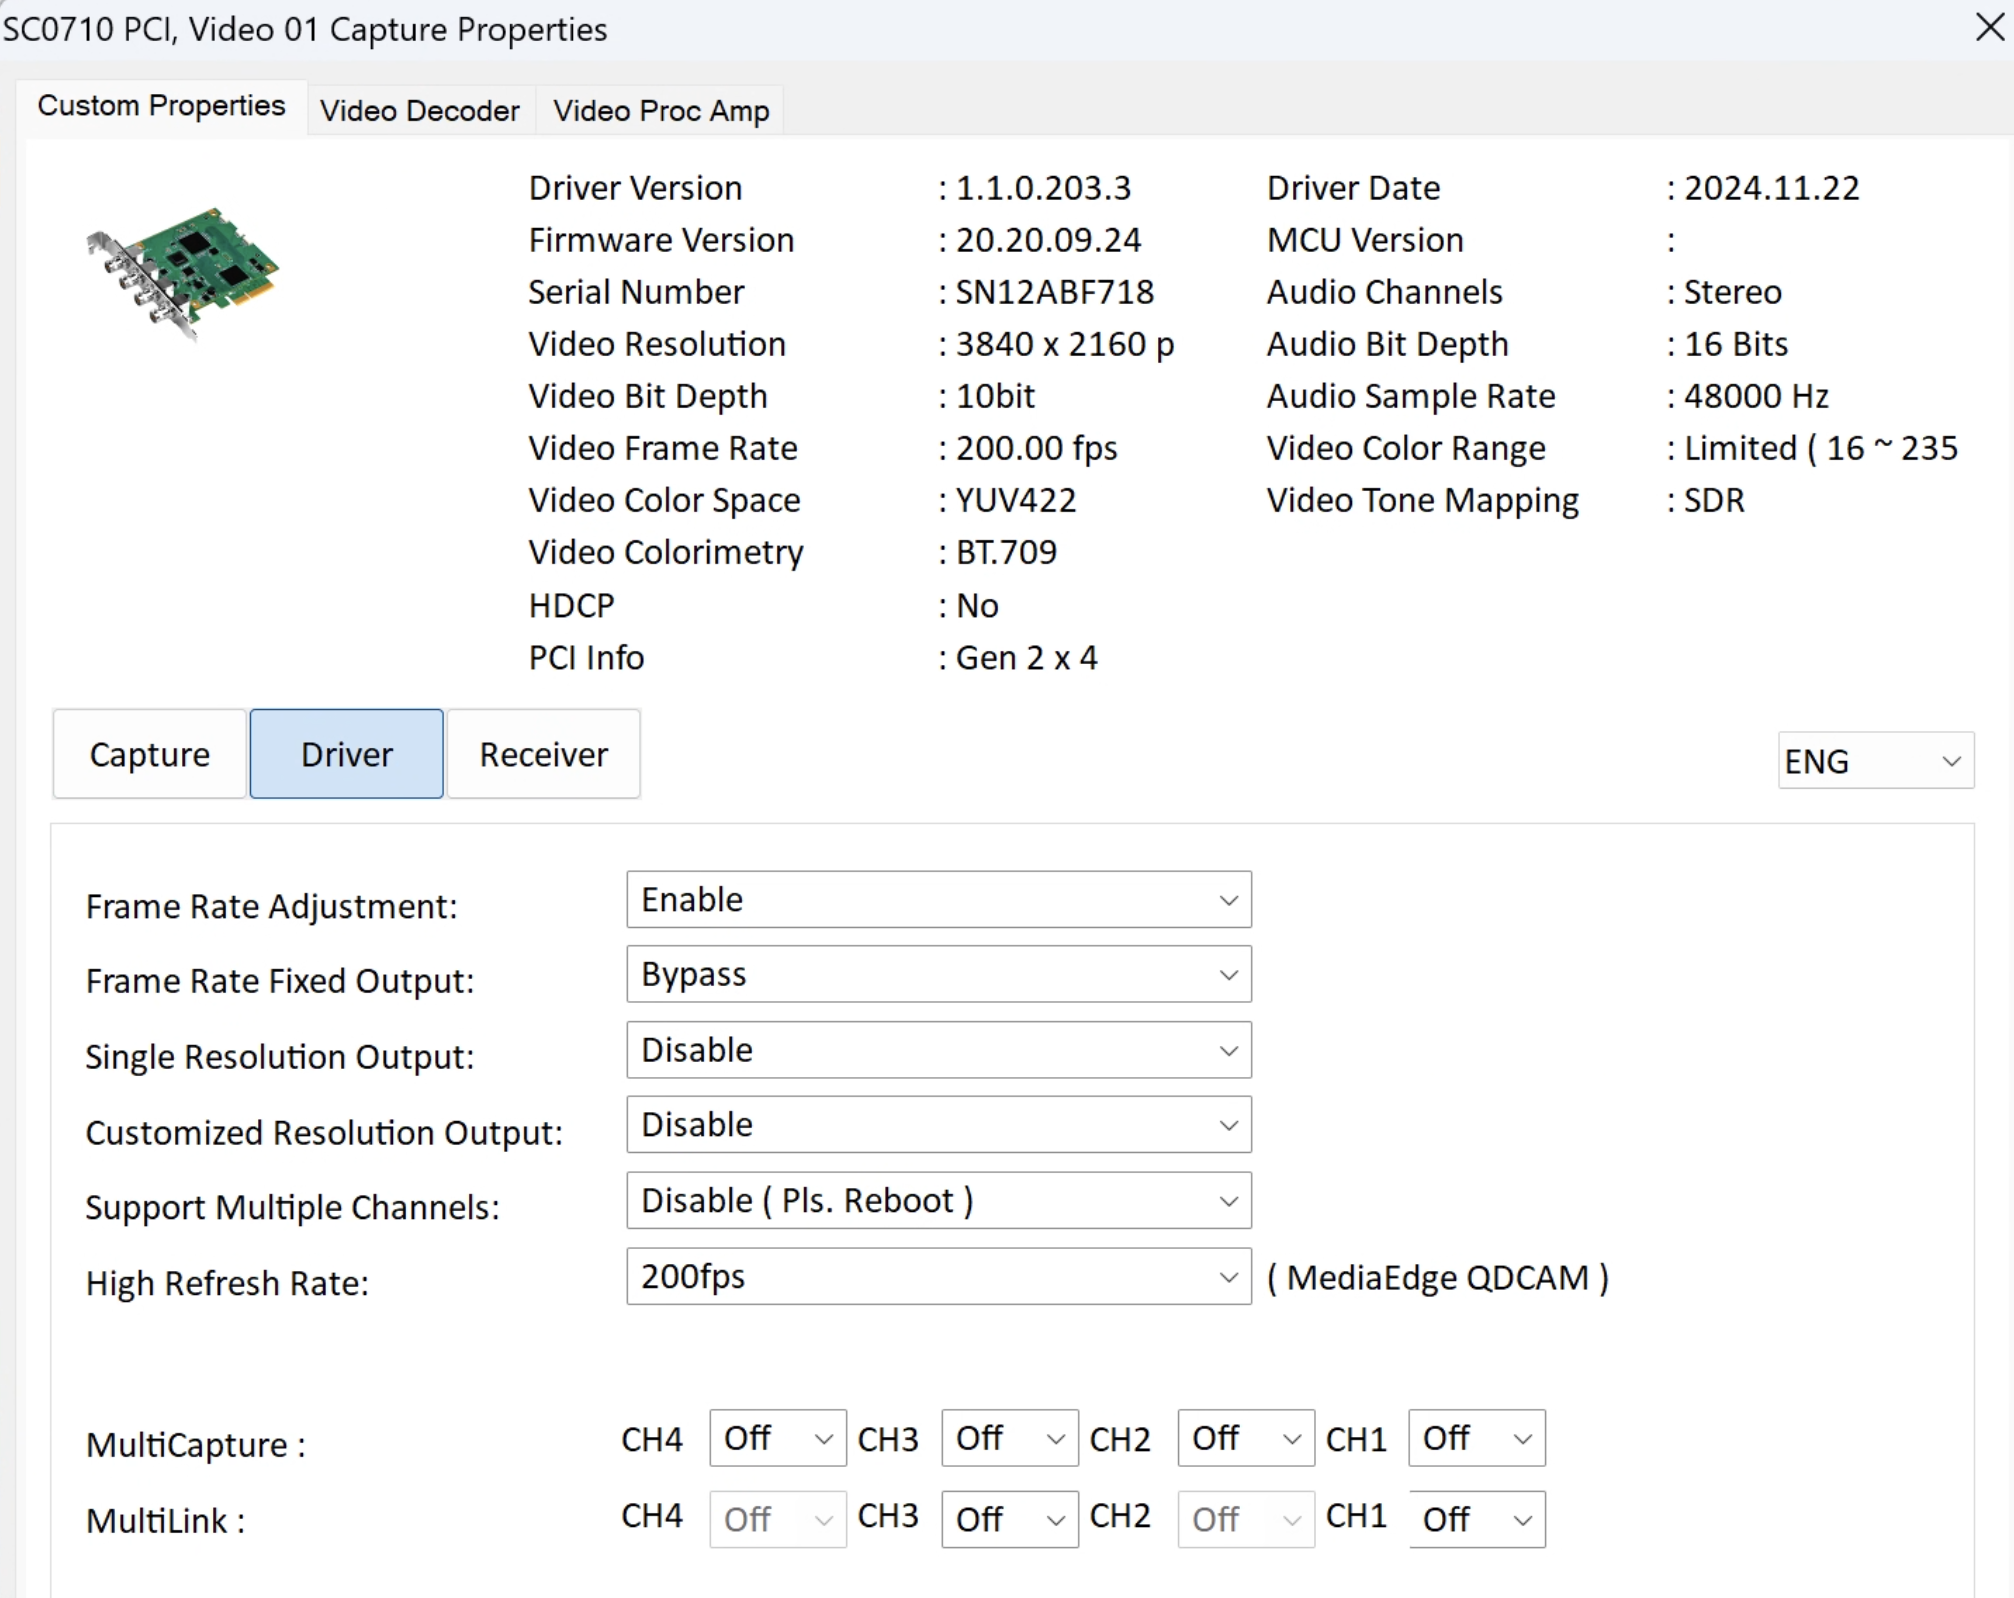
The High Refresh Rate field is auto-detected from what the camera is currently
outputting — you don't have to set it manually. The screenshot above shows 200 fps
because the camera was in HFR mode at that moment. If you switch the camera to
1080p50 or 1080p60, vMix, the YUAN driver and Proton Control all follow automatically.
Once the driver is set, the live preview should look clean:
Step 4 — Add the Instant Replay input
Click Add Input → Instant Replay and configure:
Session Folder: where the rolling recording lives — pick a fast SSD with plenty of spaceRecording Format: 1920 × 1080, 240p, HQCameras: assign Camera 1 = the SC0710 input you just configuredIn/Out/Event Transition: Fade, 500 ms is a sensible default
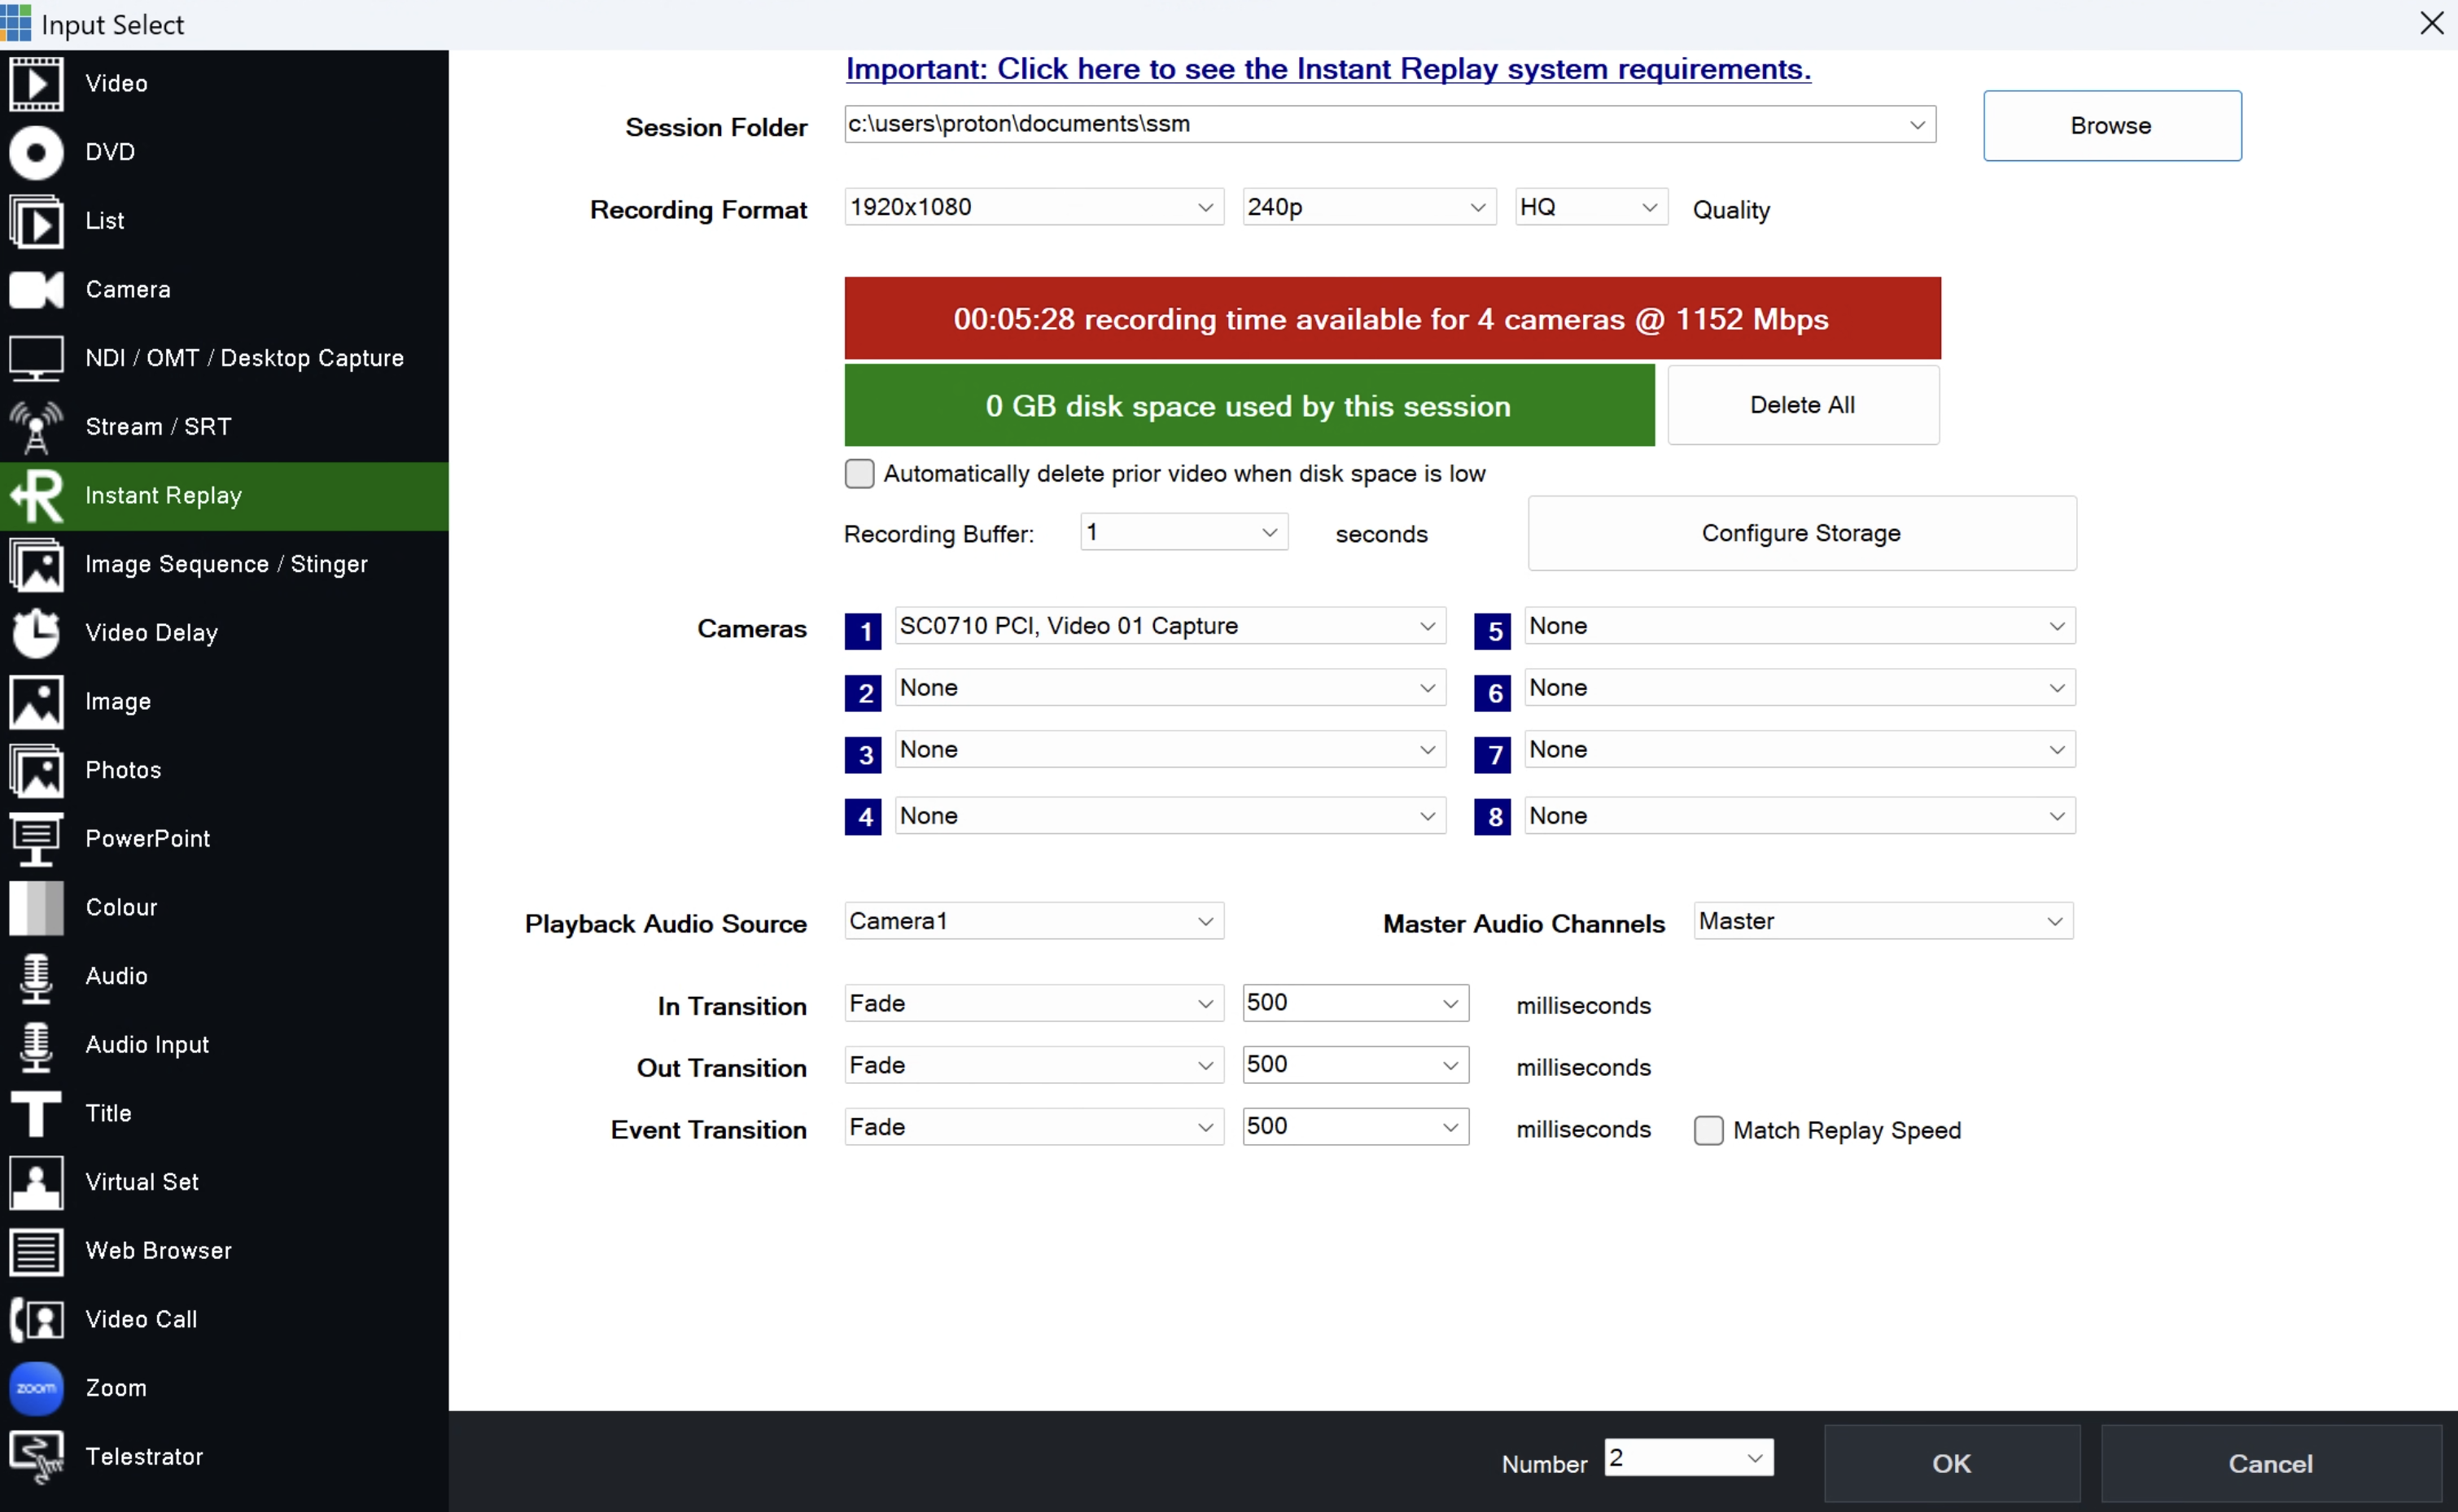
The recording lives in the session folder. On our small NUC the system drive fills up fast — for live use, point the session folder at a dedicated fast SSD (and watch the "recording time available" gauge in this dialog: it tells you exactly how much rolling buffer you'll get for your storage + bitrate combination).
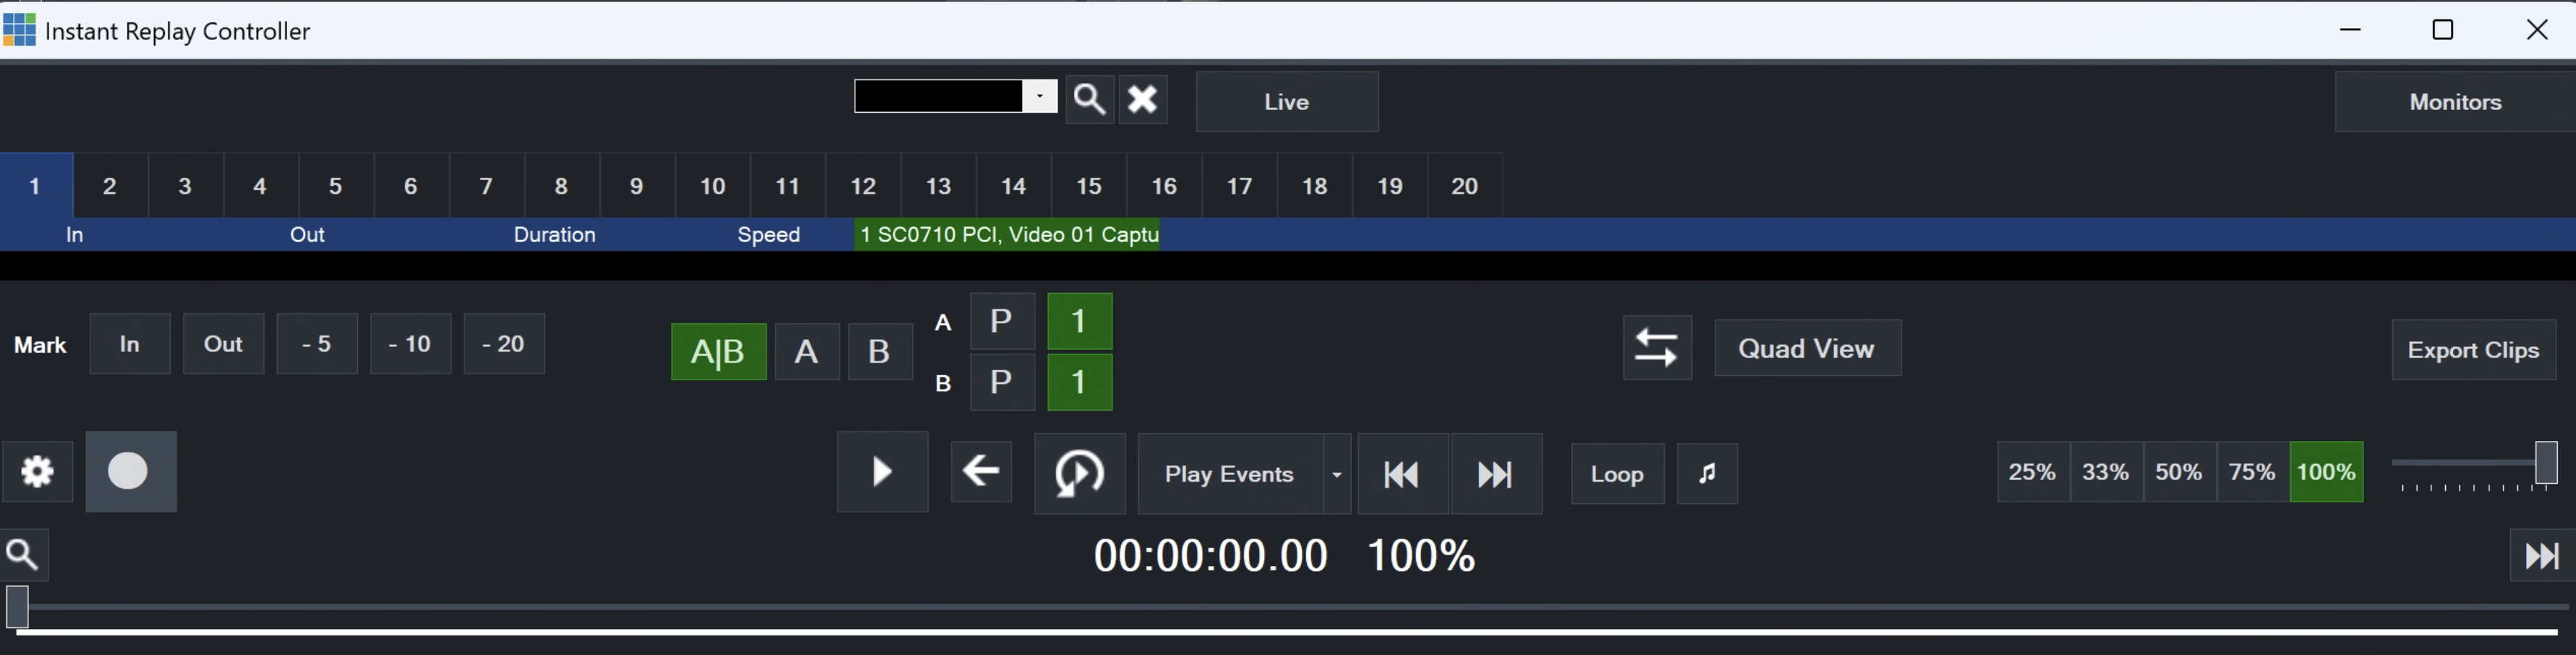
You now have a working Instant Replay input next to your live camera:
Using Instant Replay
This page only covers what's needed to get up and running — for the full Instant Replay workflow, see the vMix documentation.
The basics:
- Record — start/stop the rolling buffer from the controller bar.
- Mark in/out — set clip boundaries on the timeline.
- Speed — pick a playback speed (25 / 33 / 50 / 75 / 100 %).
- Playback — play the marked range live to your program output.
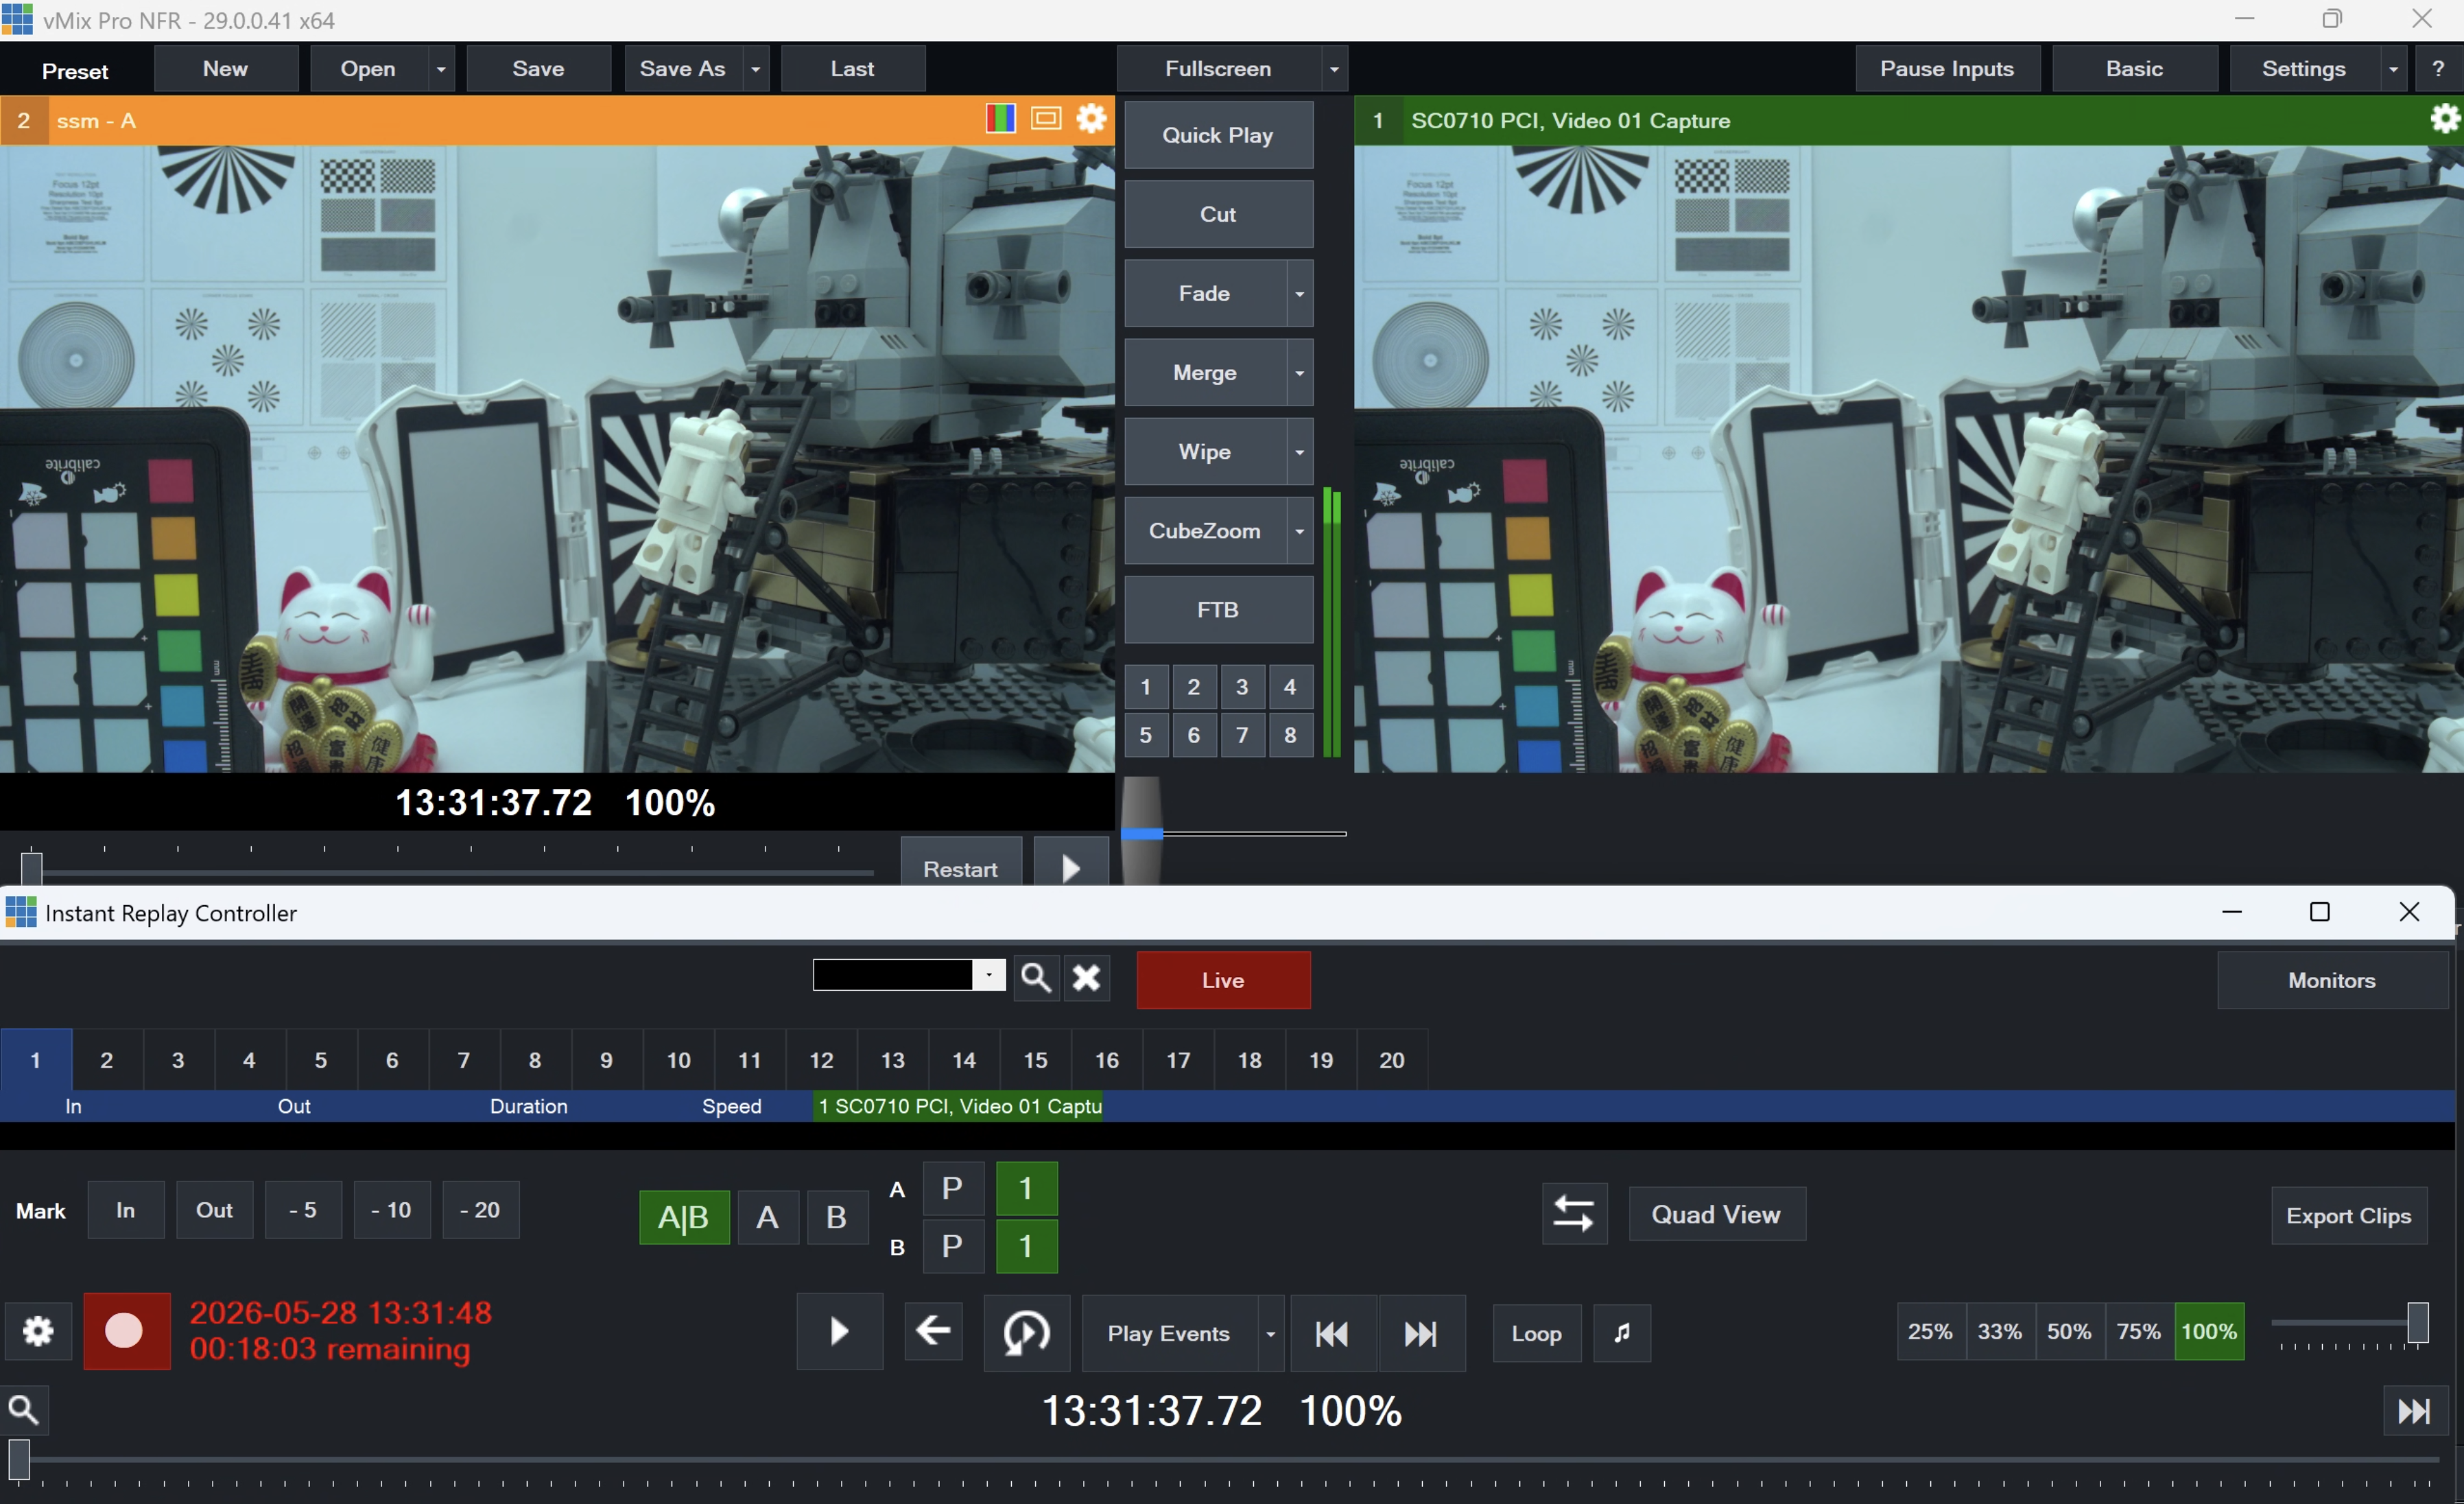
Slow-mo example, playing back the same moment at 25 % speed:
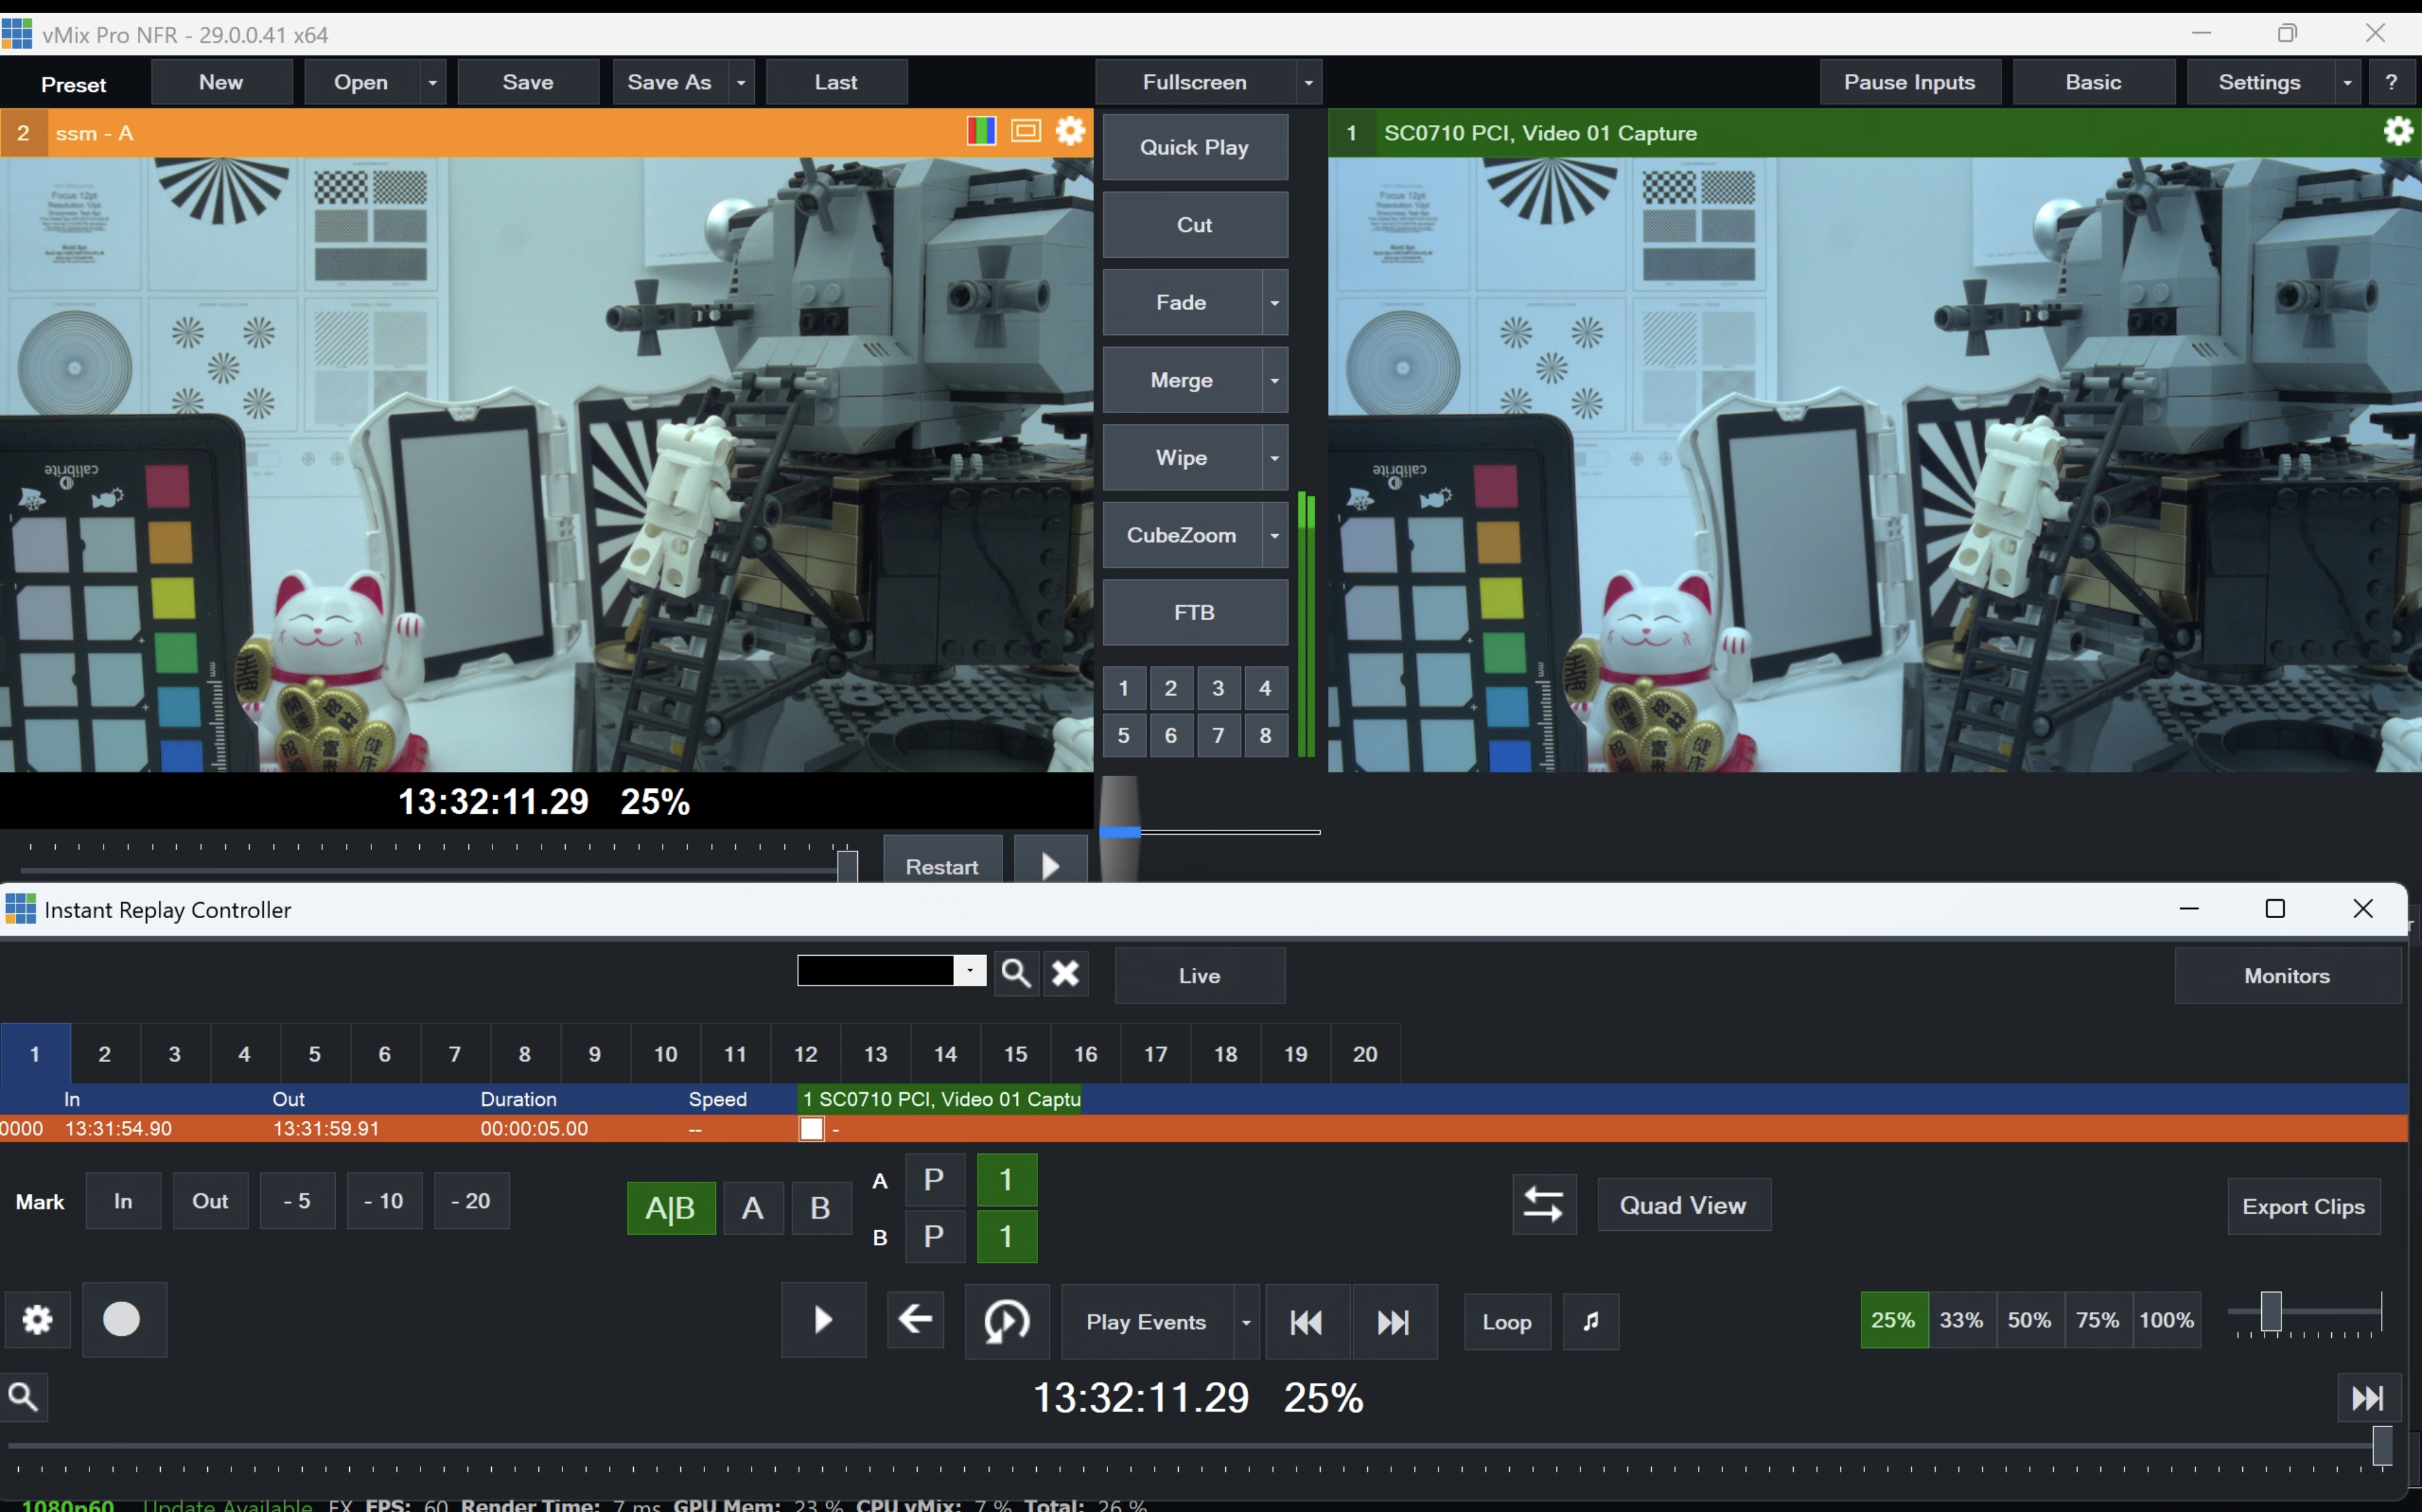
A short clip of the workflow — 25 % slow-motion replay on the left, live camera on the right:
Replay controllers
Driving the replay from keyboard shortcuts works but isn't really practical live. Two options:
- Contour Shuttle Xpress — included in Streamverse's 1-channel kits, cheap, good for solo work.
- Skaarhoj — full broadcast-grade controllers with vMix support:
- Time Spin — purpose-built replay controller
- Air Fly / Air Fly Pro / Master Key One — switching panels if you want to drive the full vMix mix from the same surface.
Camera control alongside vMix
vMix handles video; for camera control (gain, shutter, white balance, etc.) you run the free Proton Control software on the same machine.
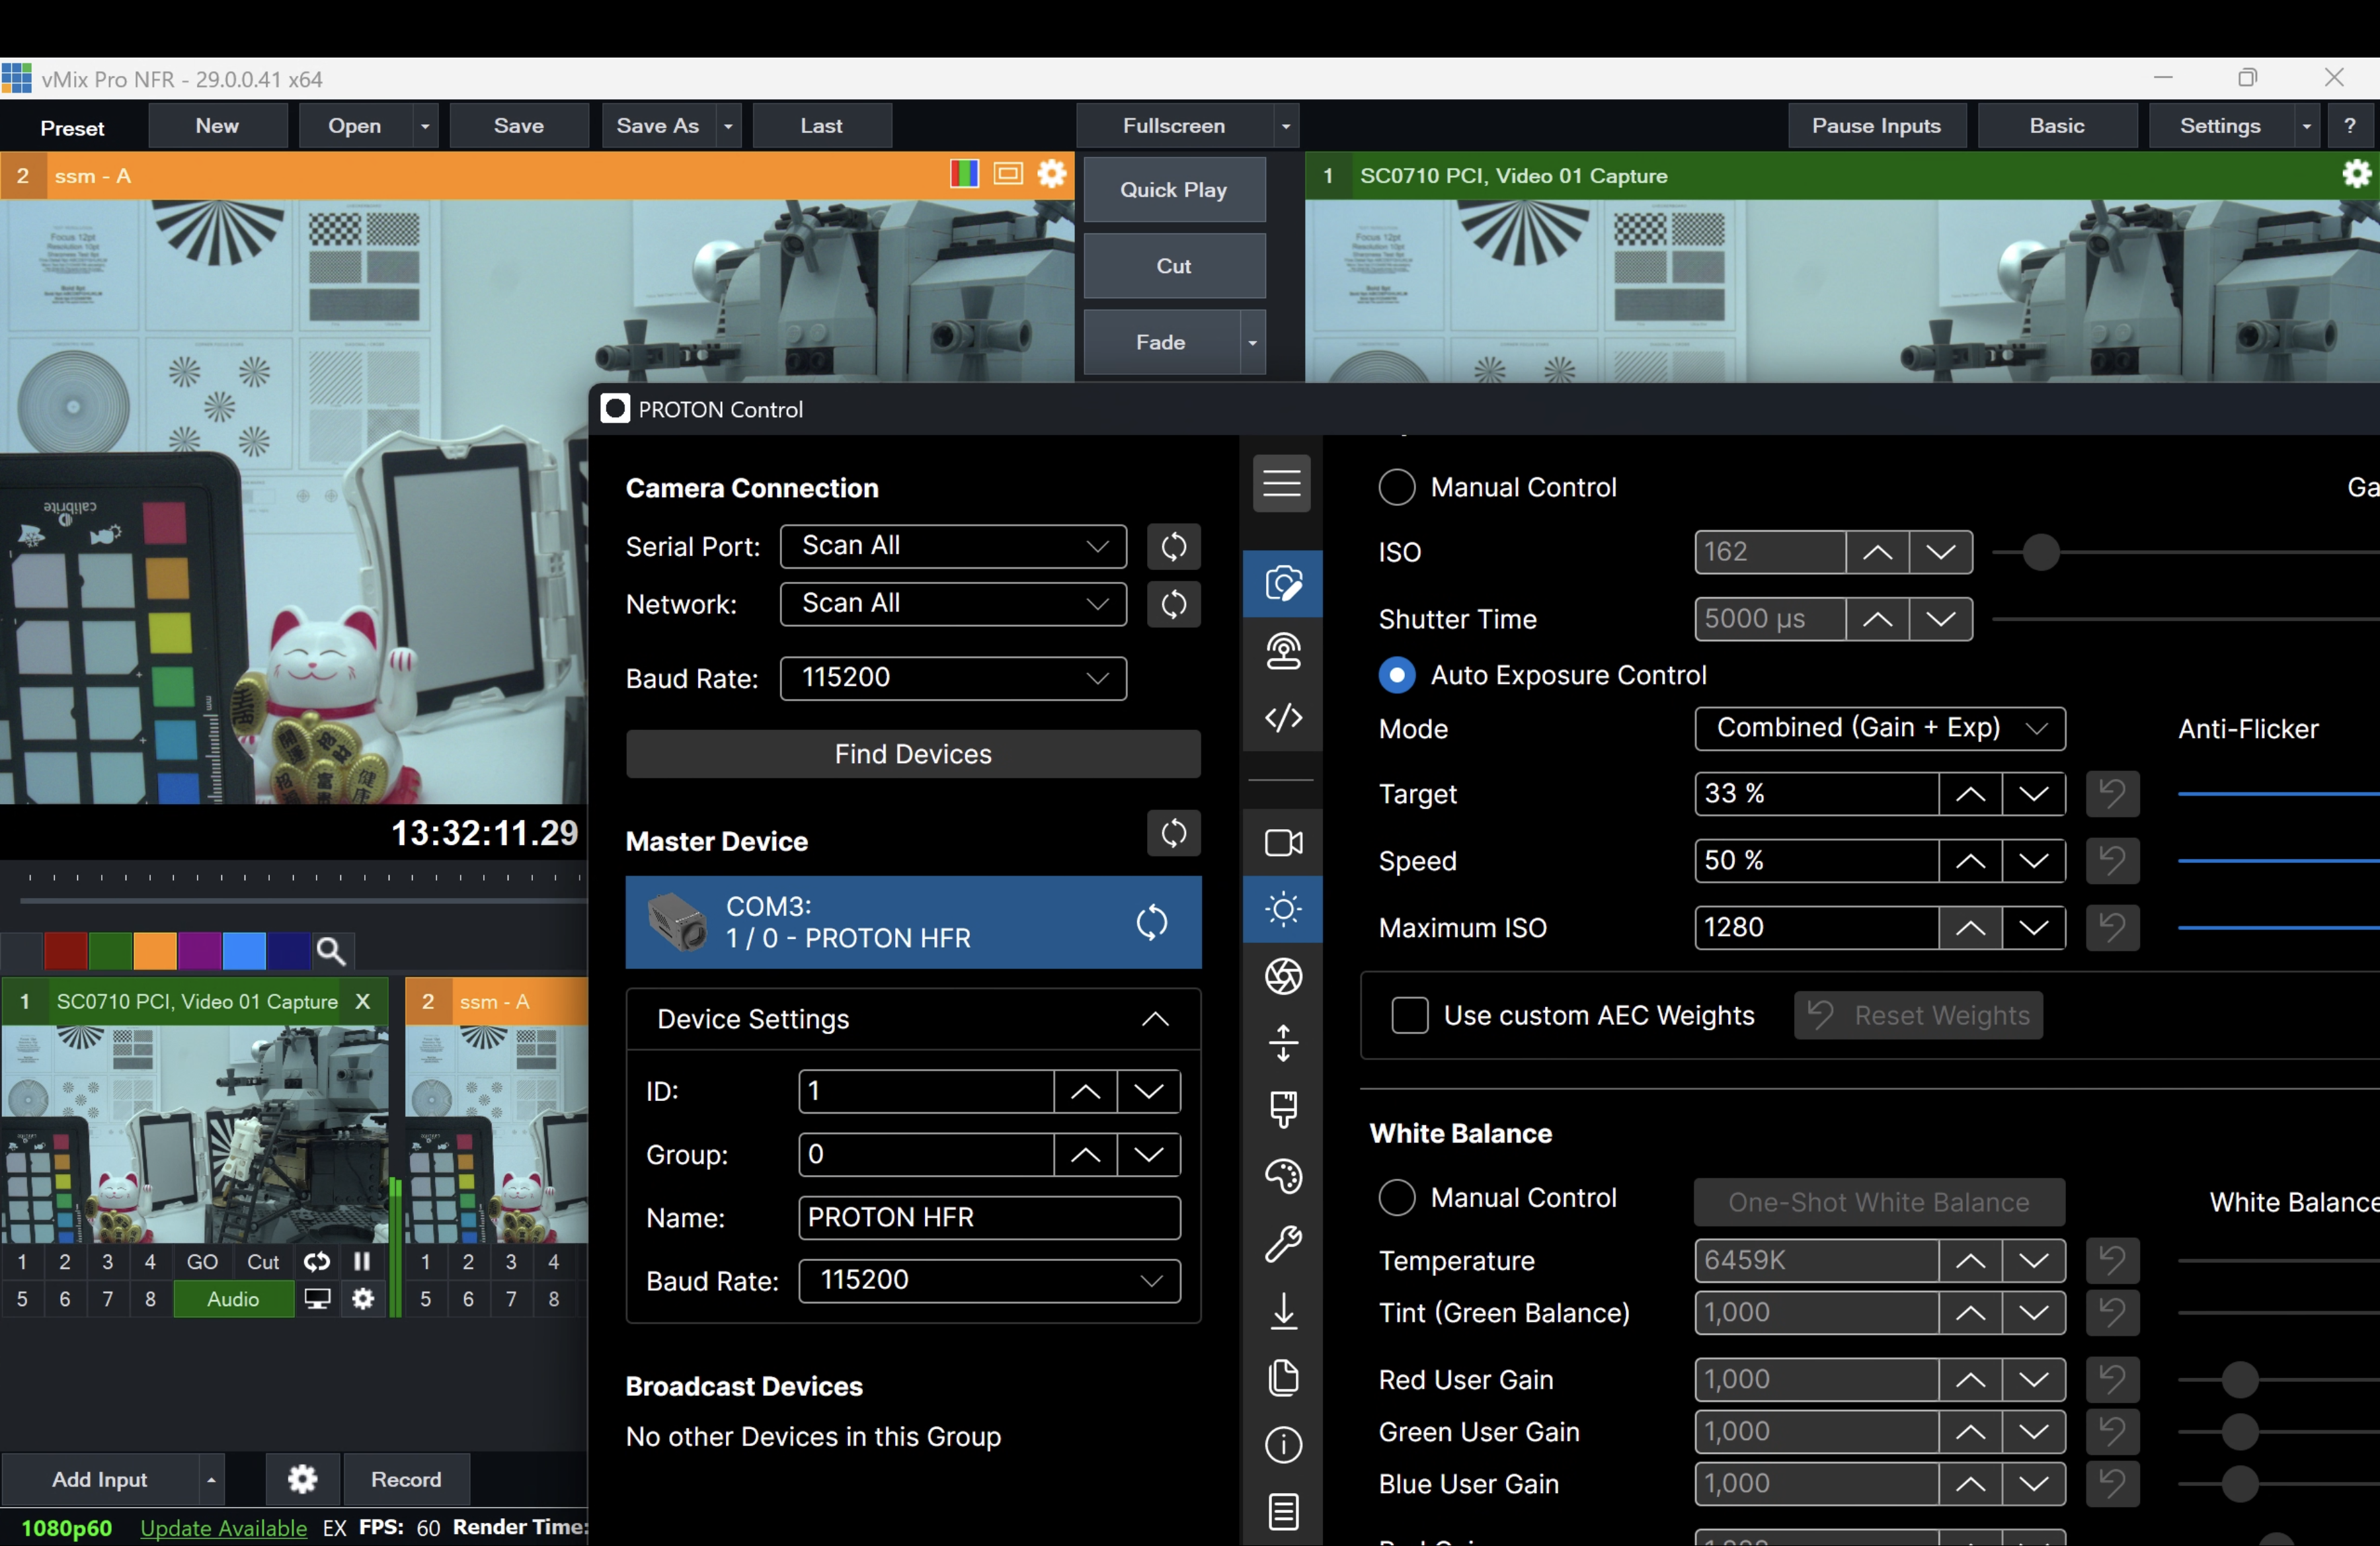
Two ways to connect:
- PIO (USB) — plug a PIO between the camera and the host PC. Single cable, simplest setup, fine for tradeshow / single-cam use.
- PIO-E (Ethernet) — use a PIO-E on a PoE switch. Ethernet is much more flexible (longer runs, multiple cameras), but the PIO-E PoE budget isn't enough to power the camera on its own — use a Y cable that adds an external 12 V feed to the data line. The camera then gets data from the PIO-E and power from the 12 V brick.
See Cyanview RCP / Wiring for more on PIO vs PIO-E.
License
vMix is licensed per tier. For this workflow:
- vMix 4K — minimum tier bundled by Streamverse in the single-camera kits.
- vMix Pro — required for 2+ channel replay kits (and gives you a few extra professional features).
Streamverse bundles the right tier in each kit (4K in the 1-channel kits, Pro in the 2/4-channel kits). You can also buy the license directly from vMix.
Support
- Hardware kit — Streamverse.tv
(
office@streamverse.tv). - vMix software — vMix support / forum.
We don't provide support on vMix itself or on the kit hardware — please go through Streamverse and vMix directly.